
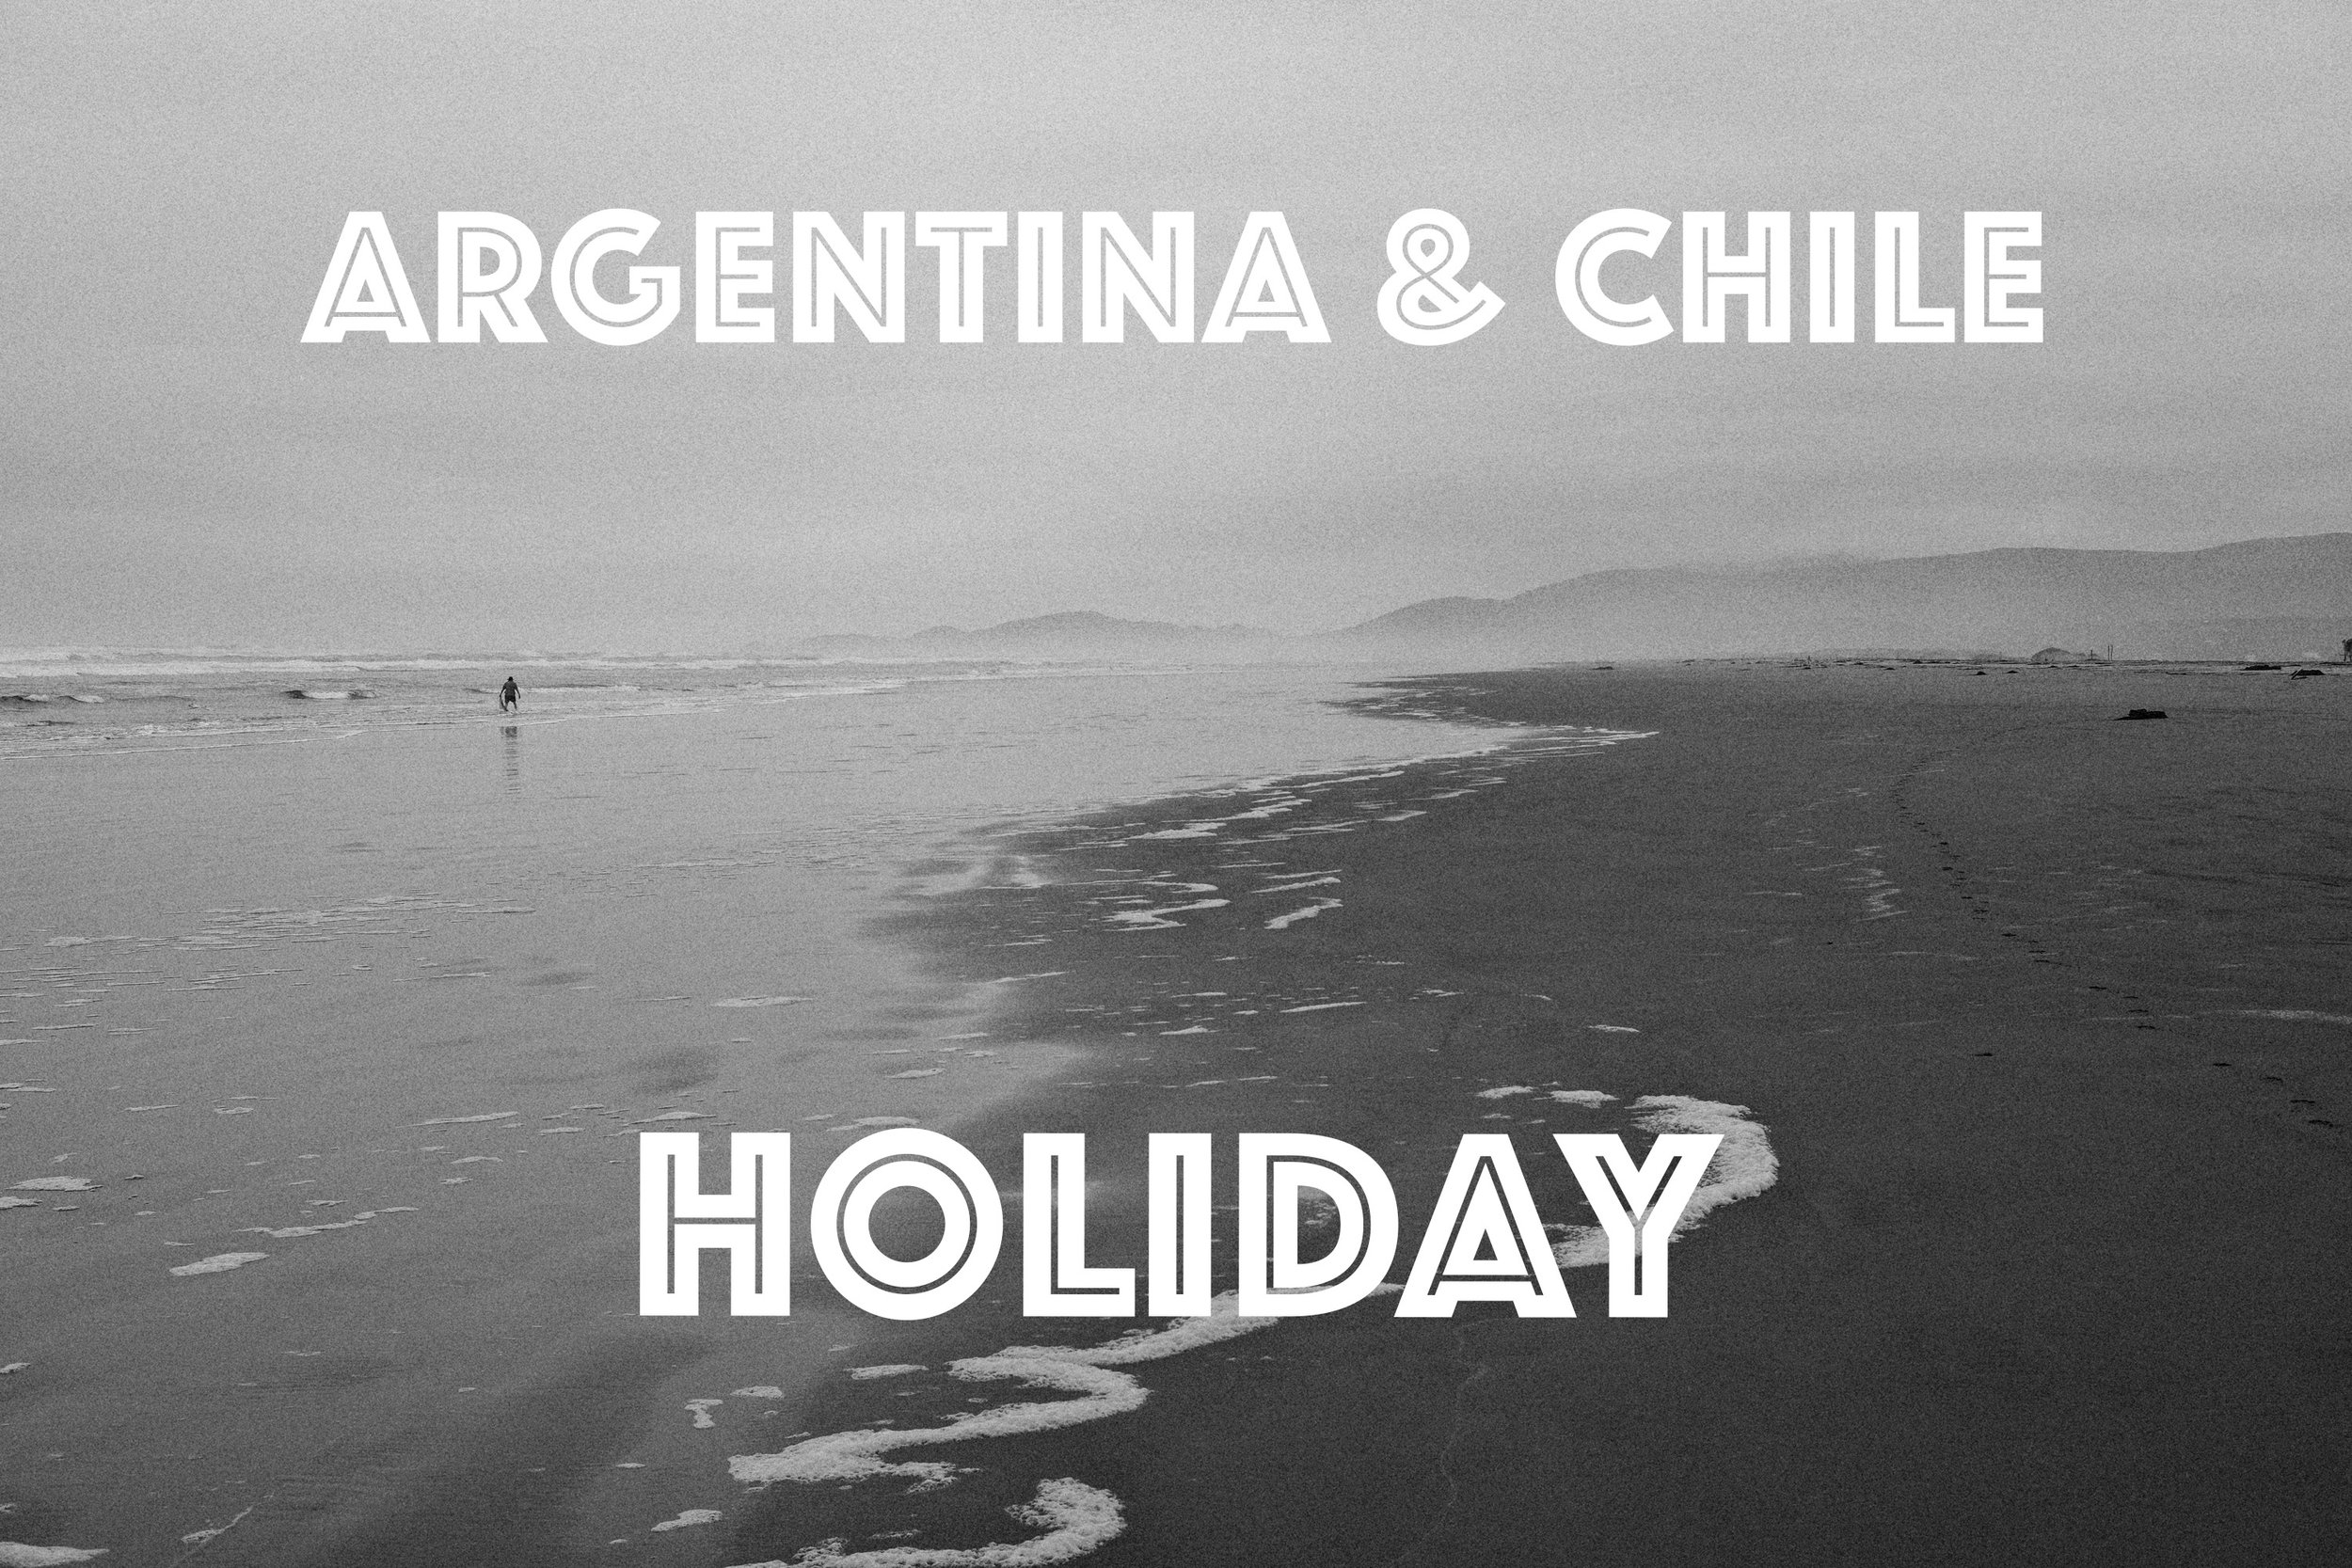
Argentina & Chile Holiday
After many many years from not being back and roughly 30 years since seeing my dad i finally make it back to Argentina. Along with the kids meeting my family for the first time. Also getting to spend some time in Chile exploring the south.
It had roughly been 2 to 3 years since we had travelled overseas due to you know what. So we decided we should take a trip when school finishes at the end of 2022, Seb would have finished high school at that stage and Lucas would have finished for the year. Conveniently both work for my wife and I shuts down at the end of the year for roughly a week and a half.
So the question was where do we go?
So i initially thought Japan again (can never over do Japan), but because it will likely be our last trip overseas with Seb due to the fact that a 17 year old generally doesnt want to do anything with their parents for any amount of extended time i thought why not take a trip to South America and introduce my side of the family to my kids who they have never met and to my father who non of them have ever met. Then also head over to see my wifes family.
So it was decided, we spend 9 or so days in Argentina and the rest in Chile were we can also do some sight seeing.
Before we get on with the trip we need to talk about the camera gear i was taking with me of course, this is more about the photography than my poor story telling skills.
I wanted to keep it reasonably light so i took my Contax S2b with my Carl Zeiss Distagon 35mm F2.8 on the film side of things and my new to you Fujifilm X-Pro3 (purchased Nov 2021). With my X-Pro3 i took my Fujifilm 27mm f2.8, 35mm f1.4, 16mm f1.4 and 56mm f1.2. Although the lens that was on the camera the most was my 27mm f2.8 pancake, it just made the camera so much more compact. This also confirms that i prefer the 35mm full frame focal length (23mm on an APSC sensor), i think its the perfect all round lens for travel. I found the 27mm a tad too cropped in and i figure the 23mm f1.4 will get added to my lens arsenal very soon. But the 27mm was the closest to that focal length in my lens bag which is likely why it sat on the camera for most of the trip.
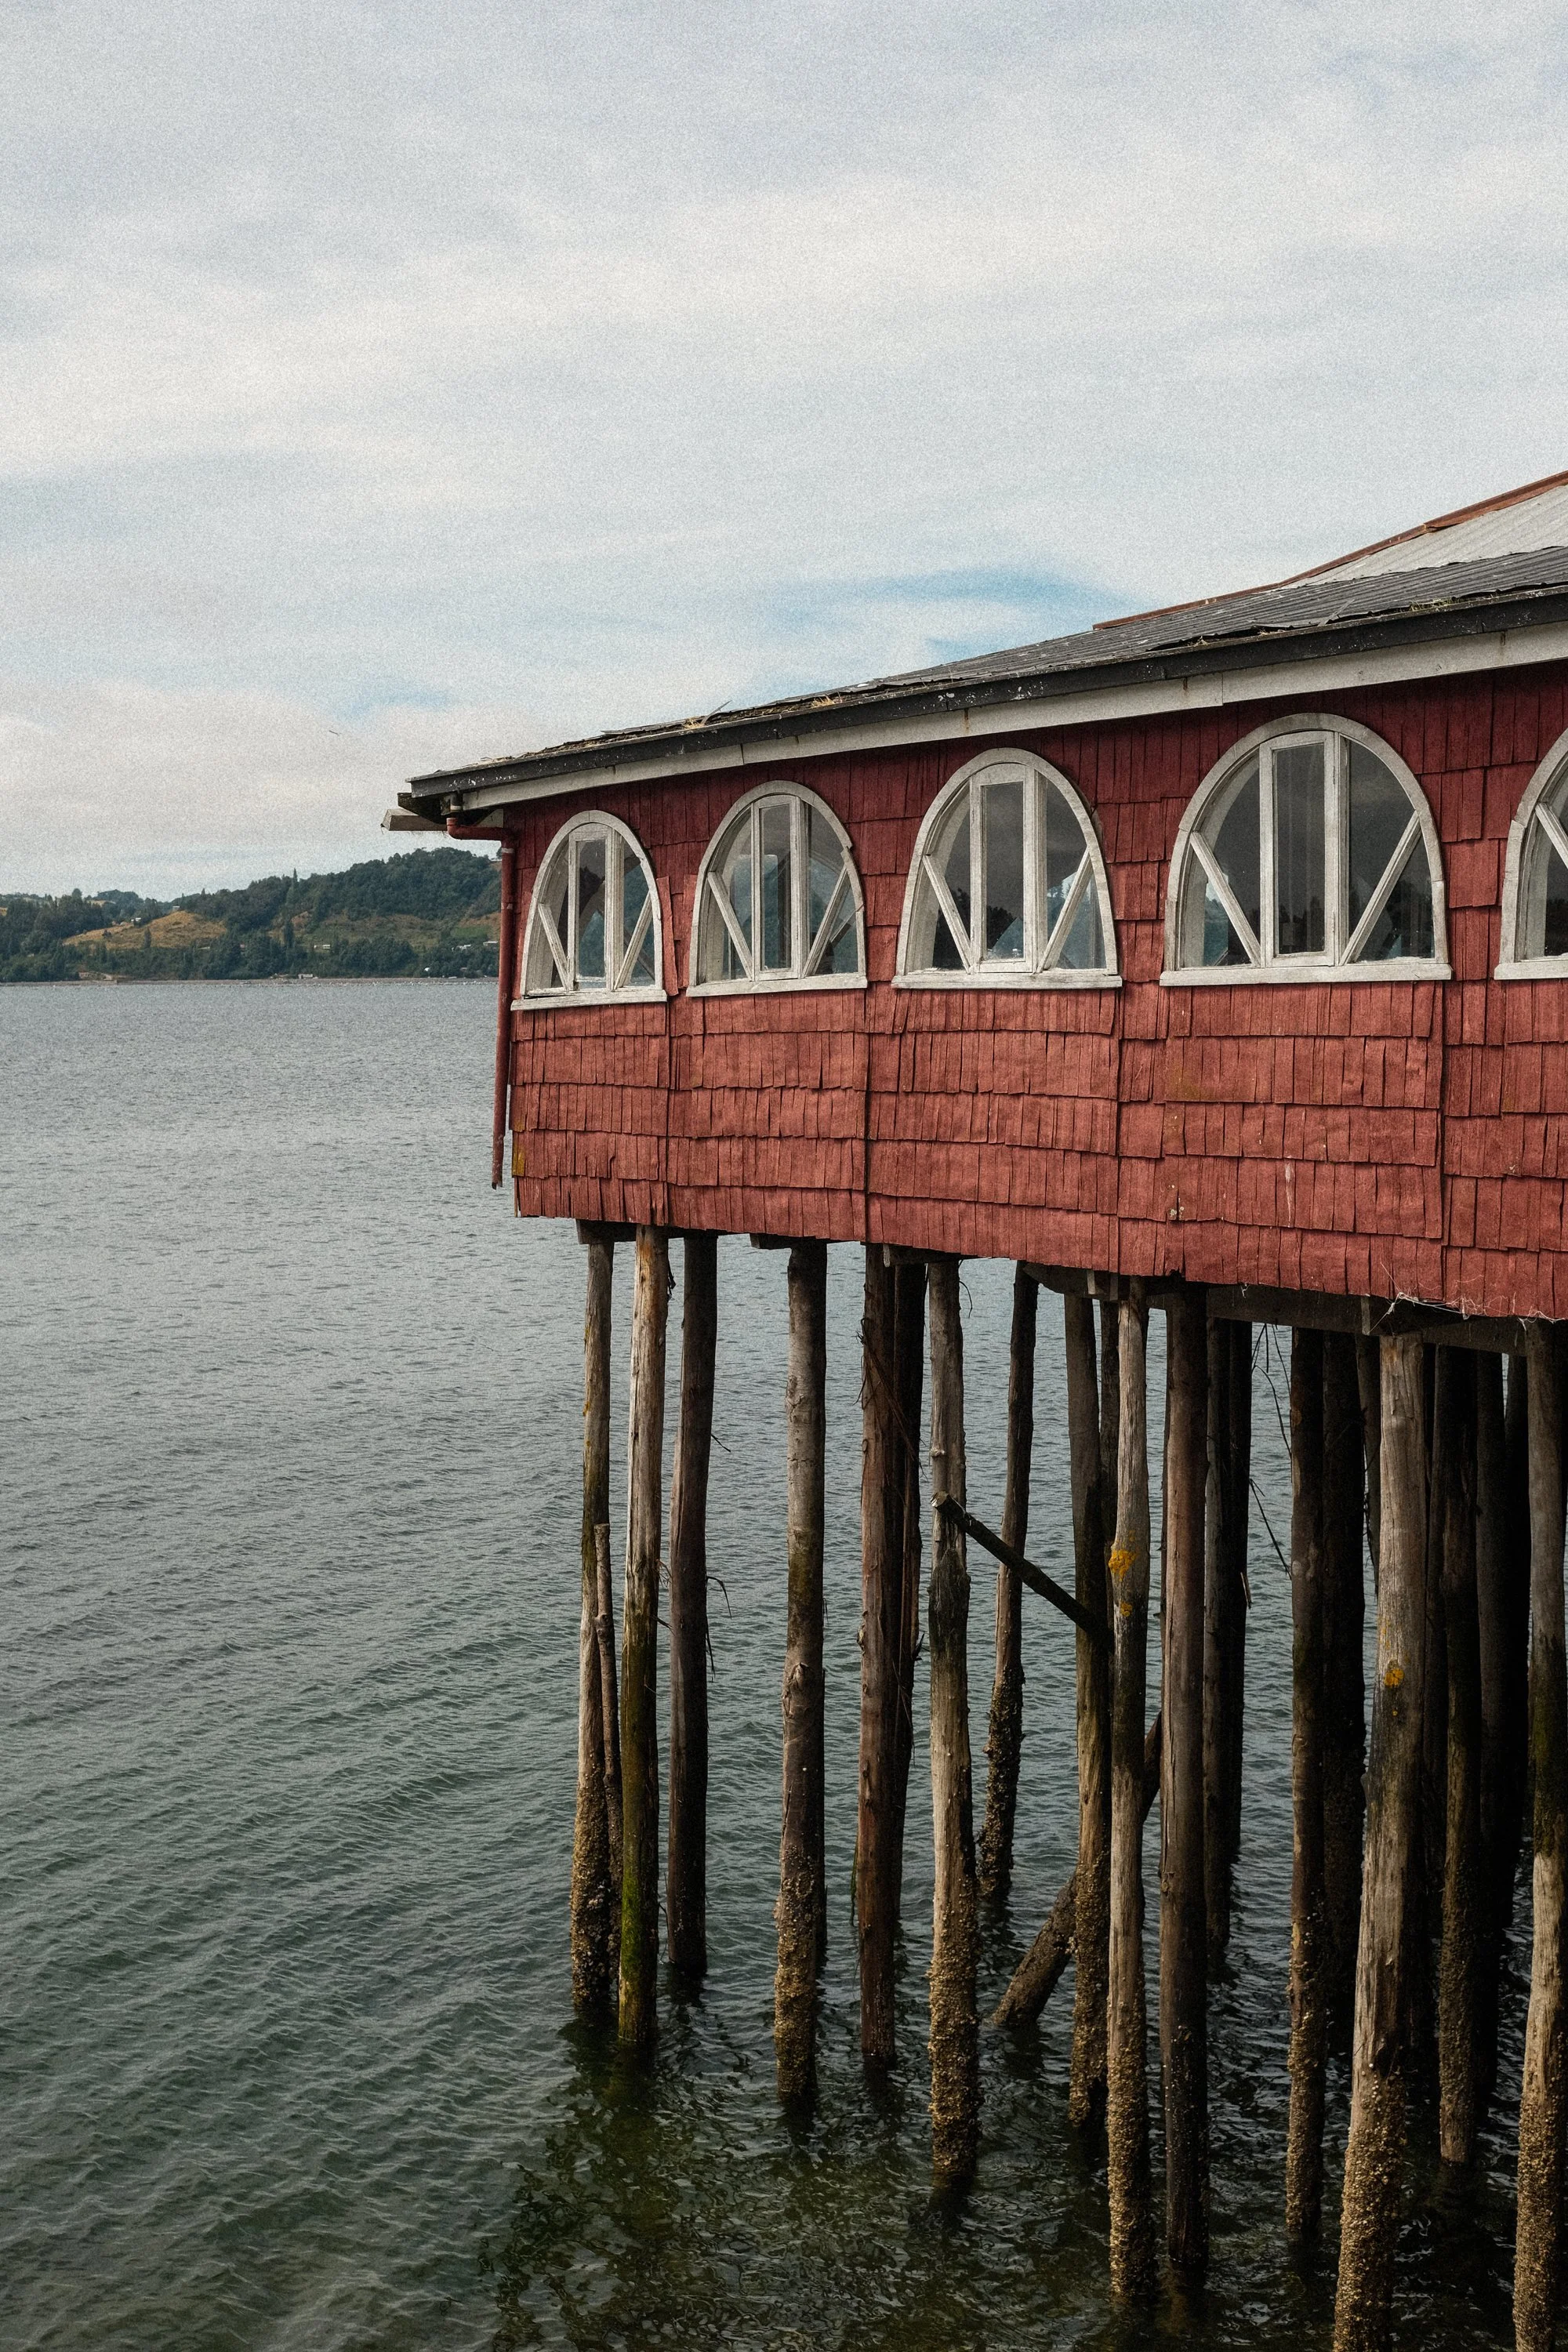
Fujifilm X-Pro3 with the 27mm f2.8 while on a river crossing in Castro
Without going too deep into the X-Pro3, one of the things ive loved is the recipes you can create with the various simulations. Of course if you have a Fujifilm you need to go to fujixweekly and get started with some recipes. Since i got the body ive been playing with 2 recipes from fujixweekly which is the Kodak Tri-X (very close to the real thing) and a Nostalgia recipe which i came across on Youtube with iamtongue tweaked version of a fujixweekly recipe. Ive been playing with these recipes for the last 6 months and made slight tweaks and reached a point that im happy with.
All the images youll see in this blog entry are jpg’s made with these recipes, slight tweaks like contrast and brightness in post but thats about it.
Here are my tweaked recipes:
Kodak Tri-X 400
- Film Simulation: Acros + G filter
- Grain Effect: Strong Large
- Color Chrome Effect: Strong
- Color Chrome FX Blue: Off
- White Balance: Daylight - R:9, B:-9
- Dynamic Range: DR100
- D Rand Priority: Off
- Tone Curve: H:0, S:+2
- Sharpness: -1
- Noise Reduction: -4
- Clarity: +4
- Exposure Compensation: +1
- ISO: 1600+
Nostalgia
- Film Simulation: Classic Chrome
- Grain Effect: Strong Large
- Color Chrome Effect: Strong
- Color Chrome FX Blue: Strong
- White Balance: Auto - R:2, B:-5
- Dynamic Range: DR200
- D Rand Priority: Off
- Tone Curve: H:-1, S:-1
- Color: +2
- Sharpness: -1
- Noise Reduction: -4
- Clarity: +2
- Exposure Compensation: +1
- ISO: 1600+
Back to the trip, we flew into Santiago from Sydney as there is no direct flight to Buenos Aires with Qantas, and from there we flew to Buenos Aires.
Heading to Buenos Aires from Santiago
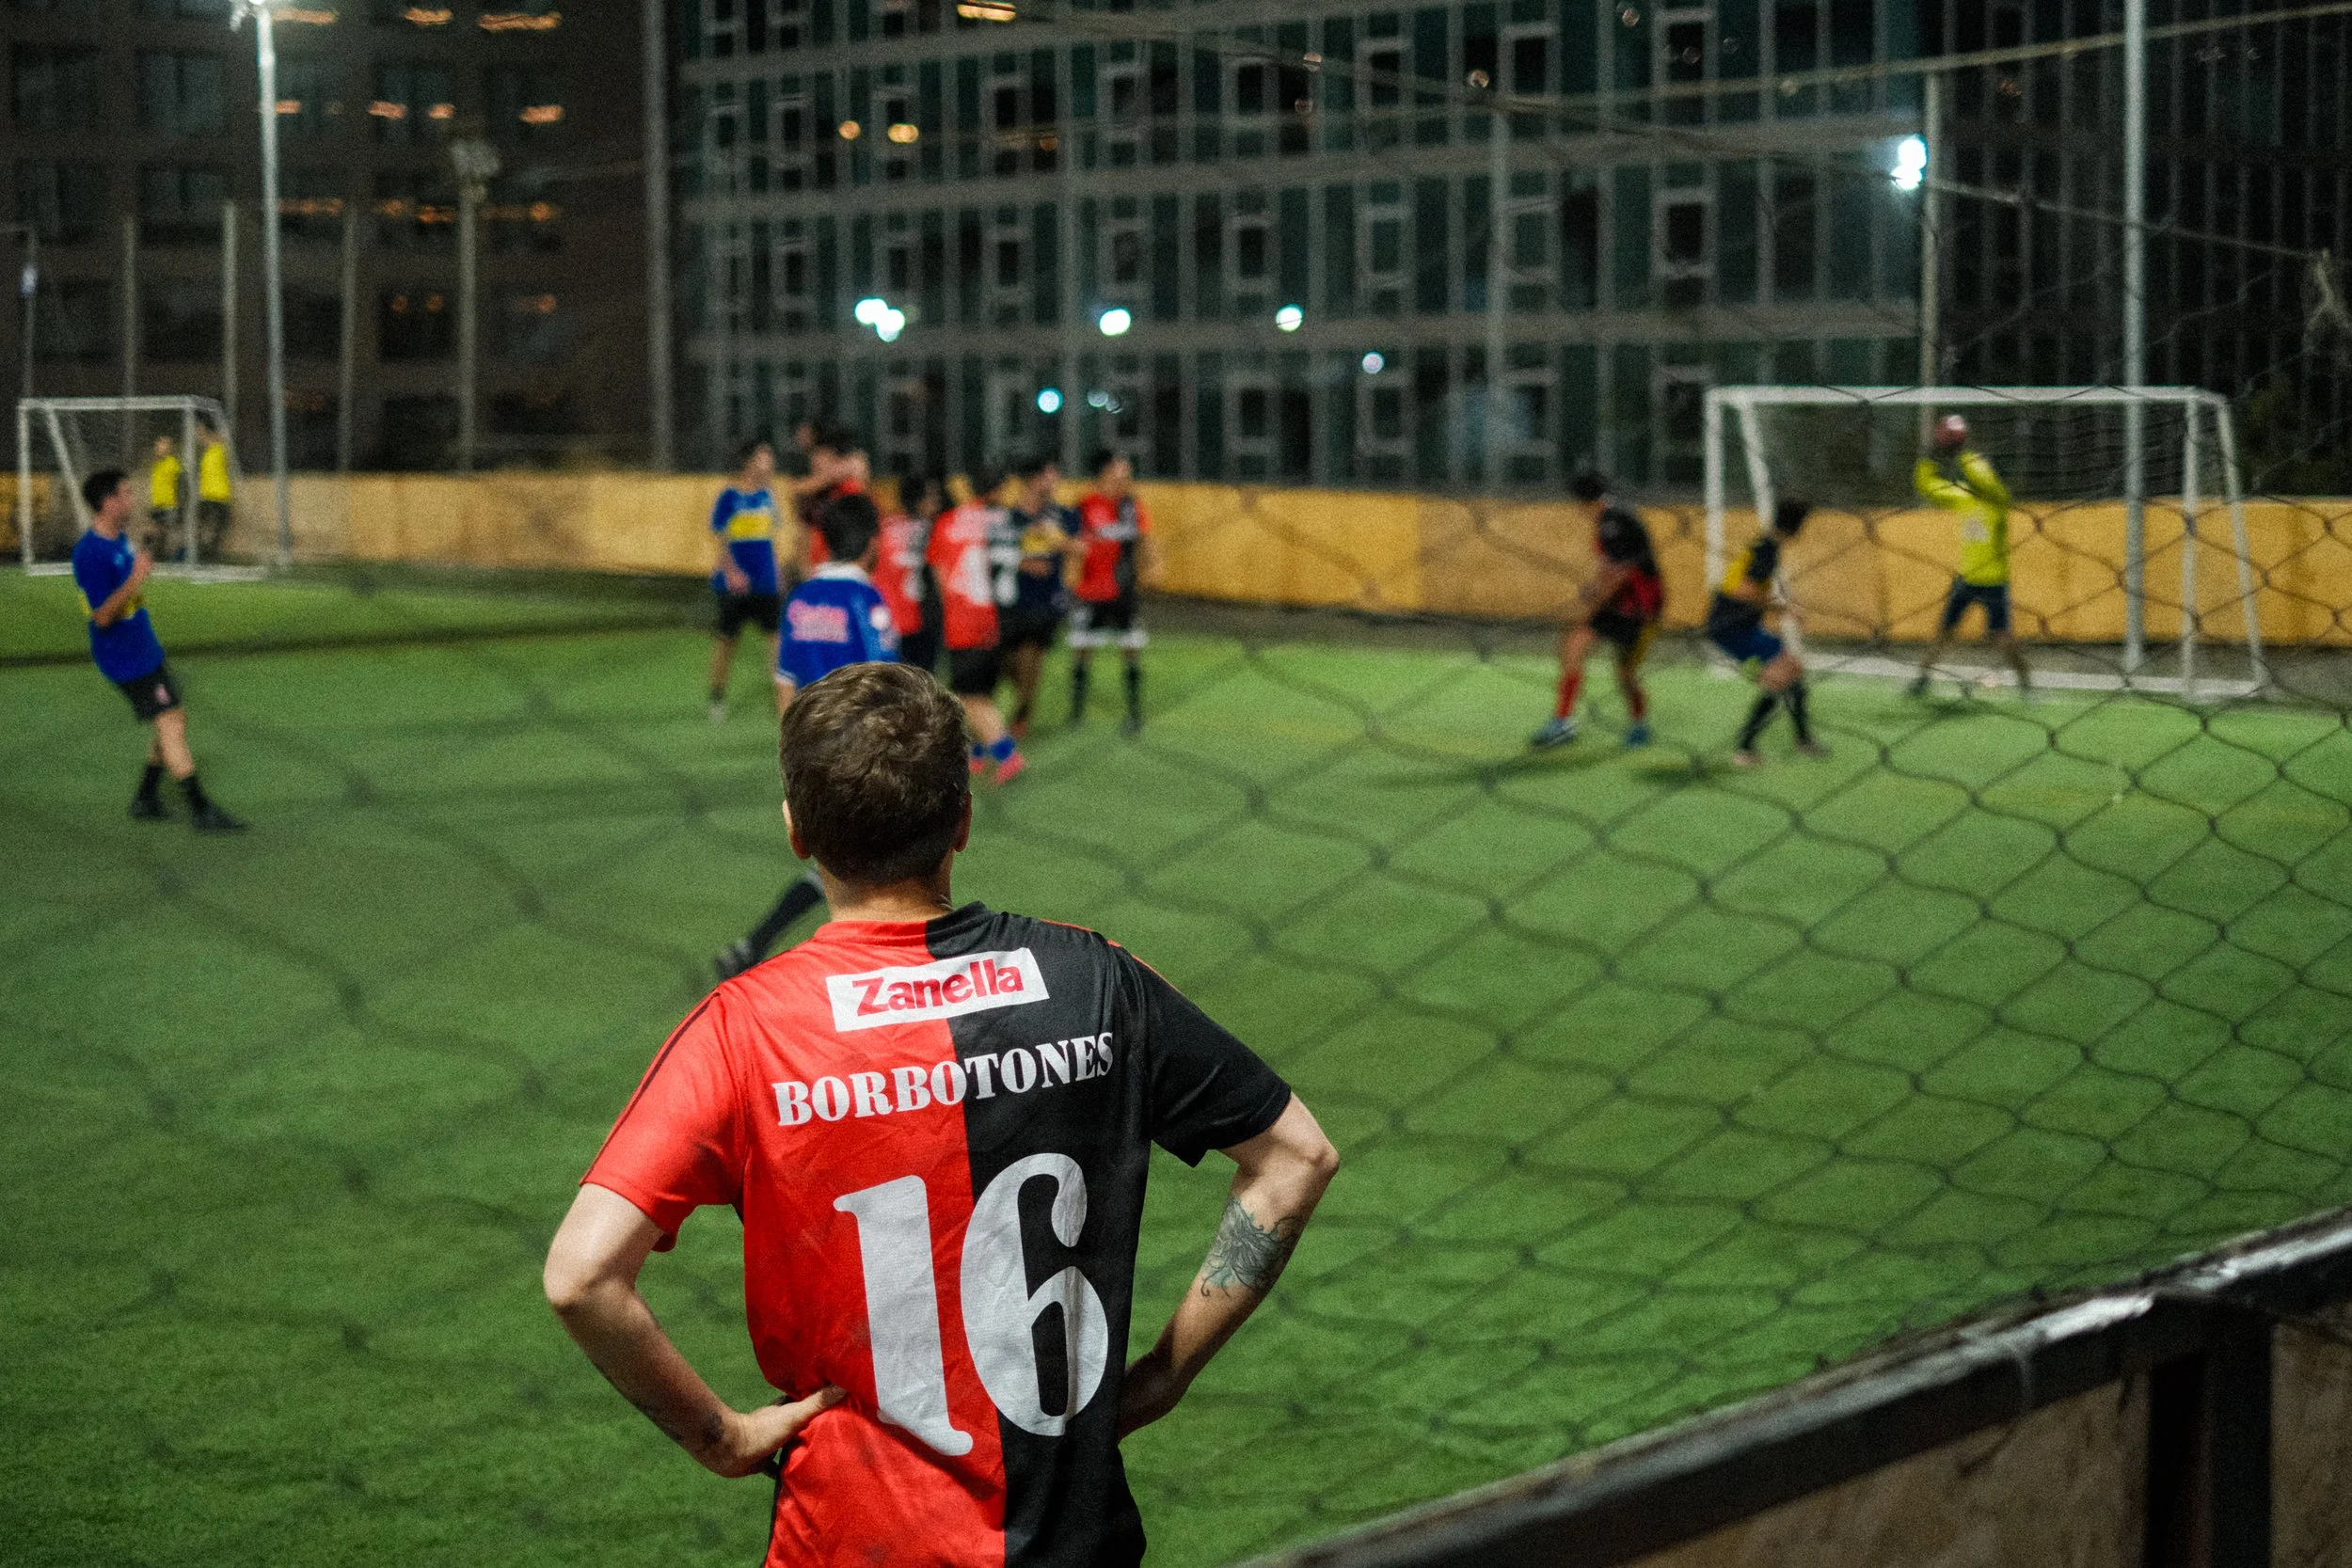
Now this wasnt long after Argentina won the World Cup and the Argentinian team was due to arrive in Argentina. Lucky for us we arrived in Buenos Aires the day after the team arrived, otherwise it would have been chaos trying to get anywhere.
Sample jersey released after Argentina won the World Cup (not for sale unfortunately).
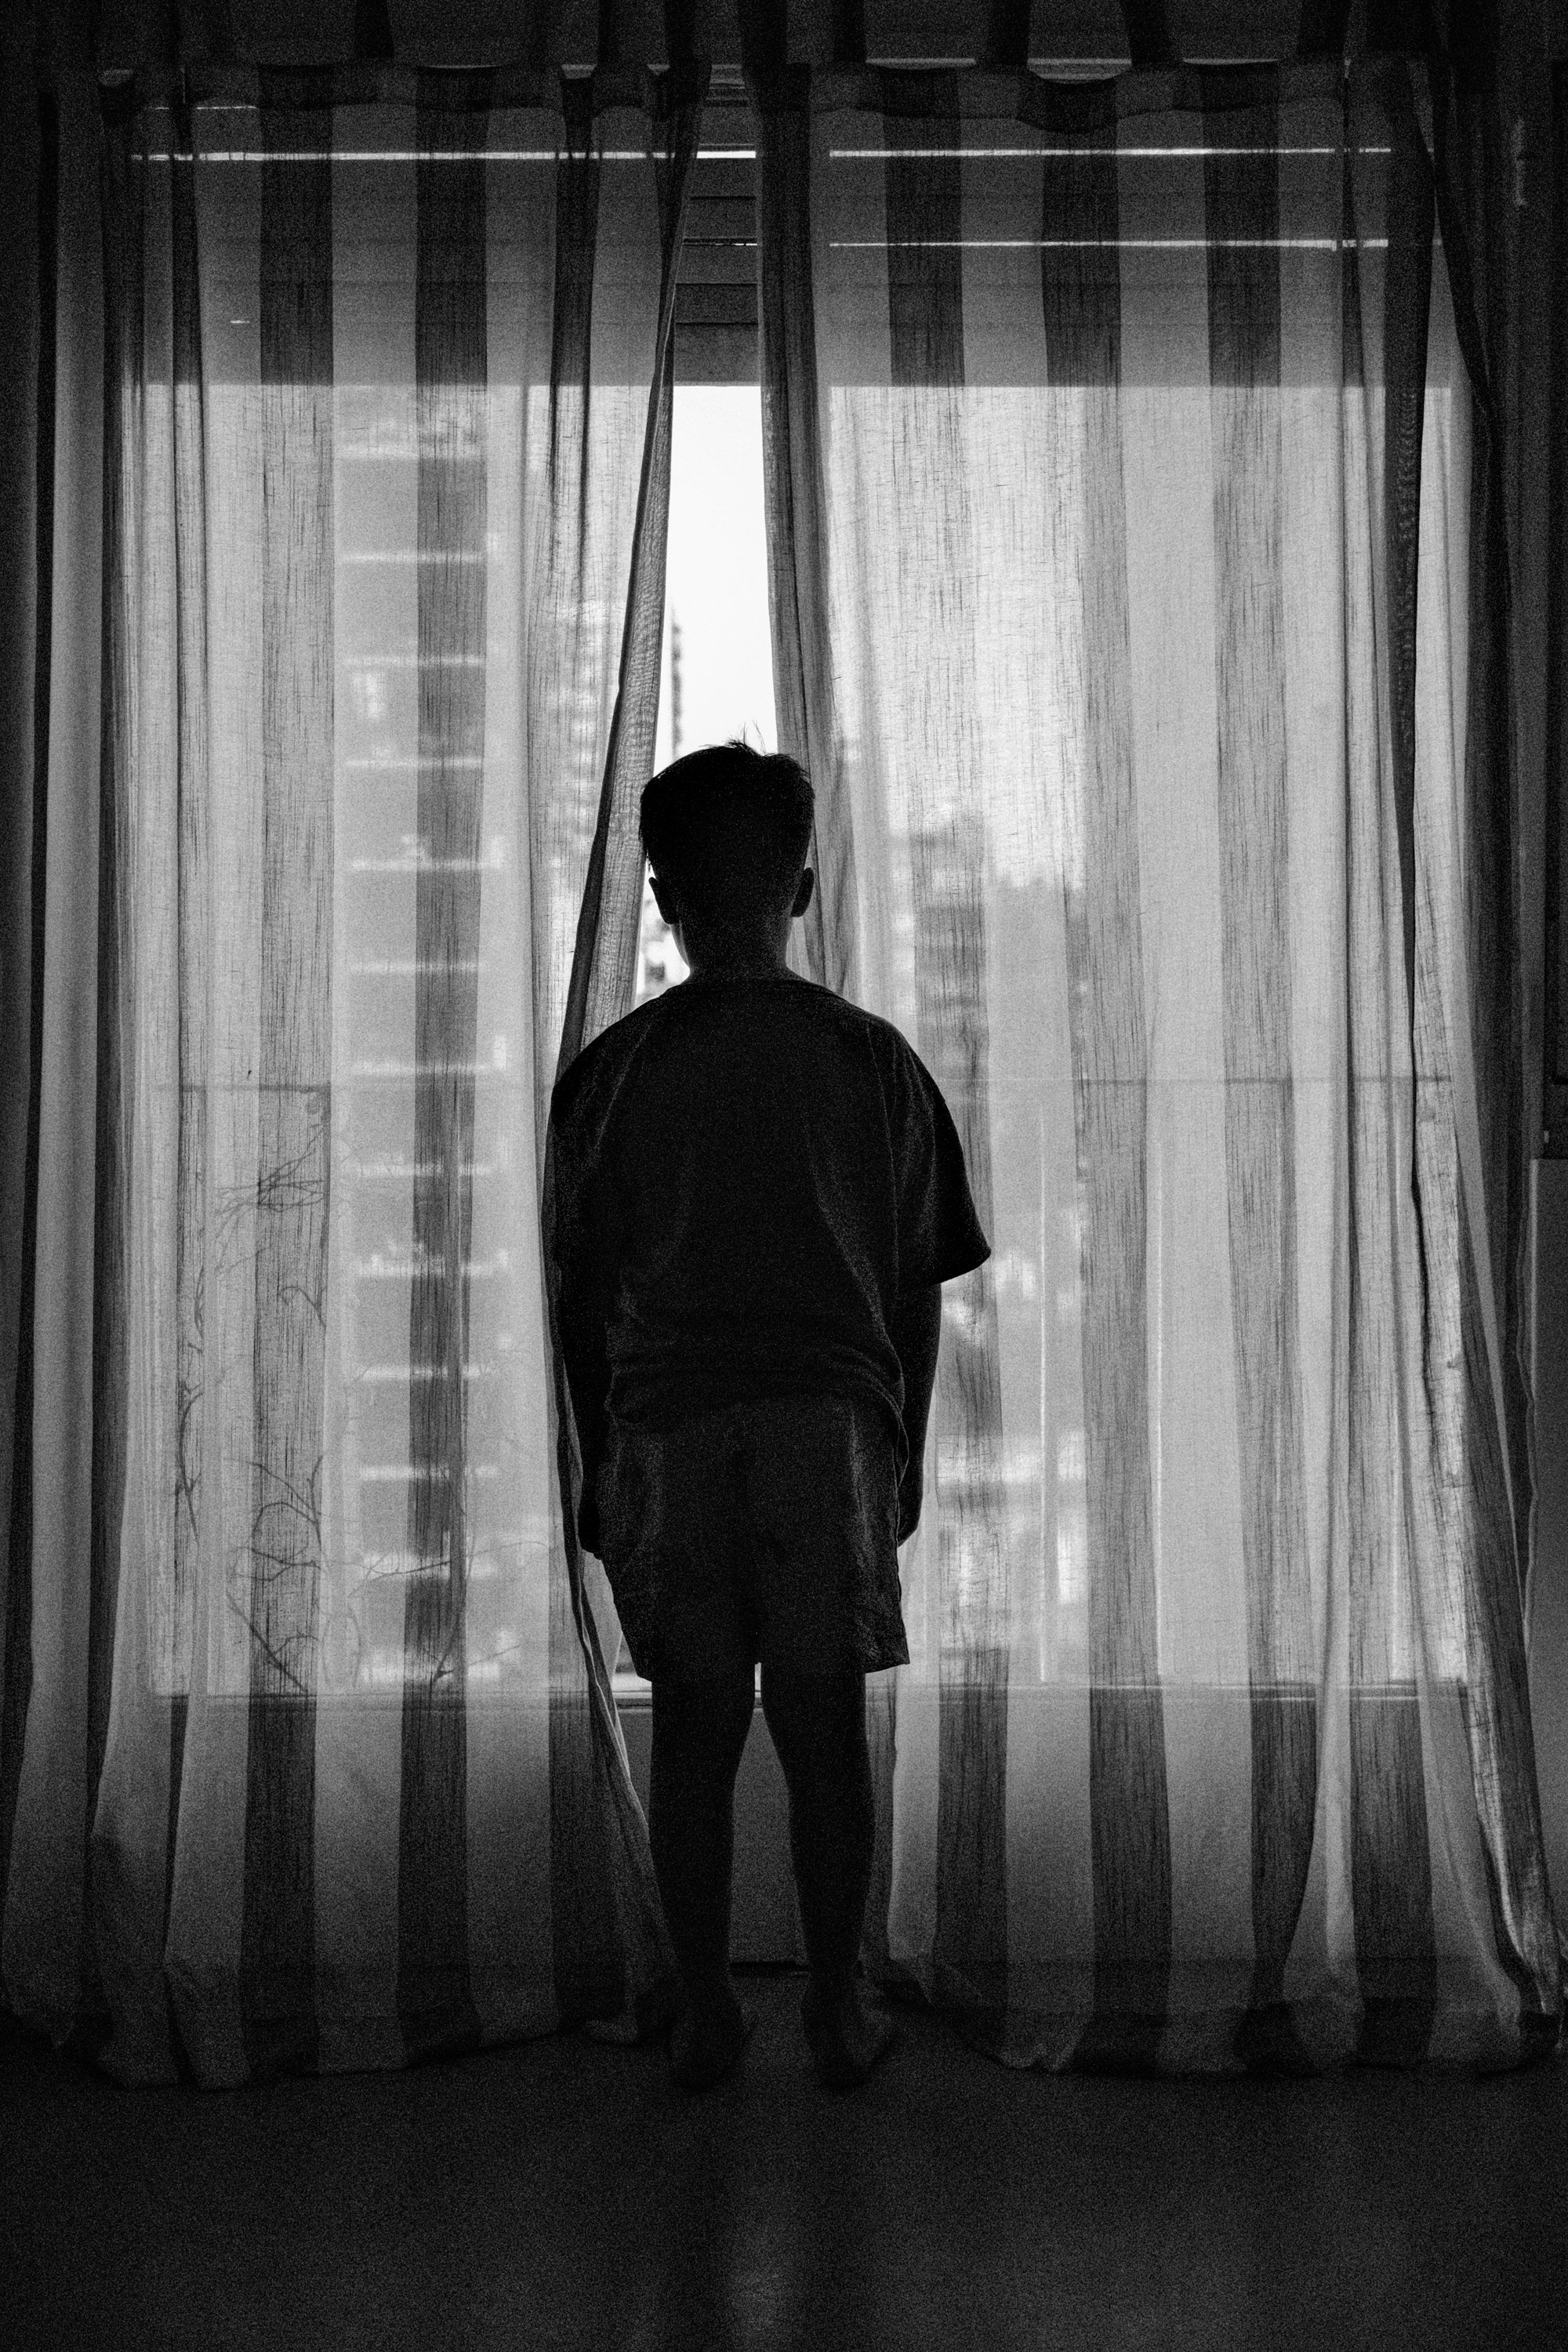
Jetlag hits hard for those of us traveling to South America from Australia as your meant to be sleeping when your awake and awake when your meant to be sleeping. The first morning in Buenos Aires was an early start.
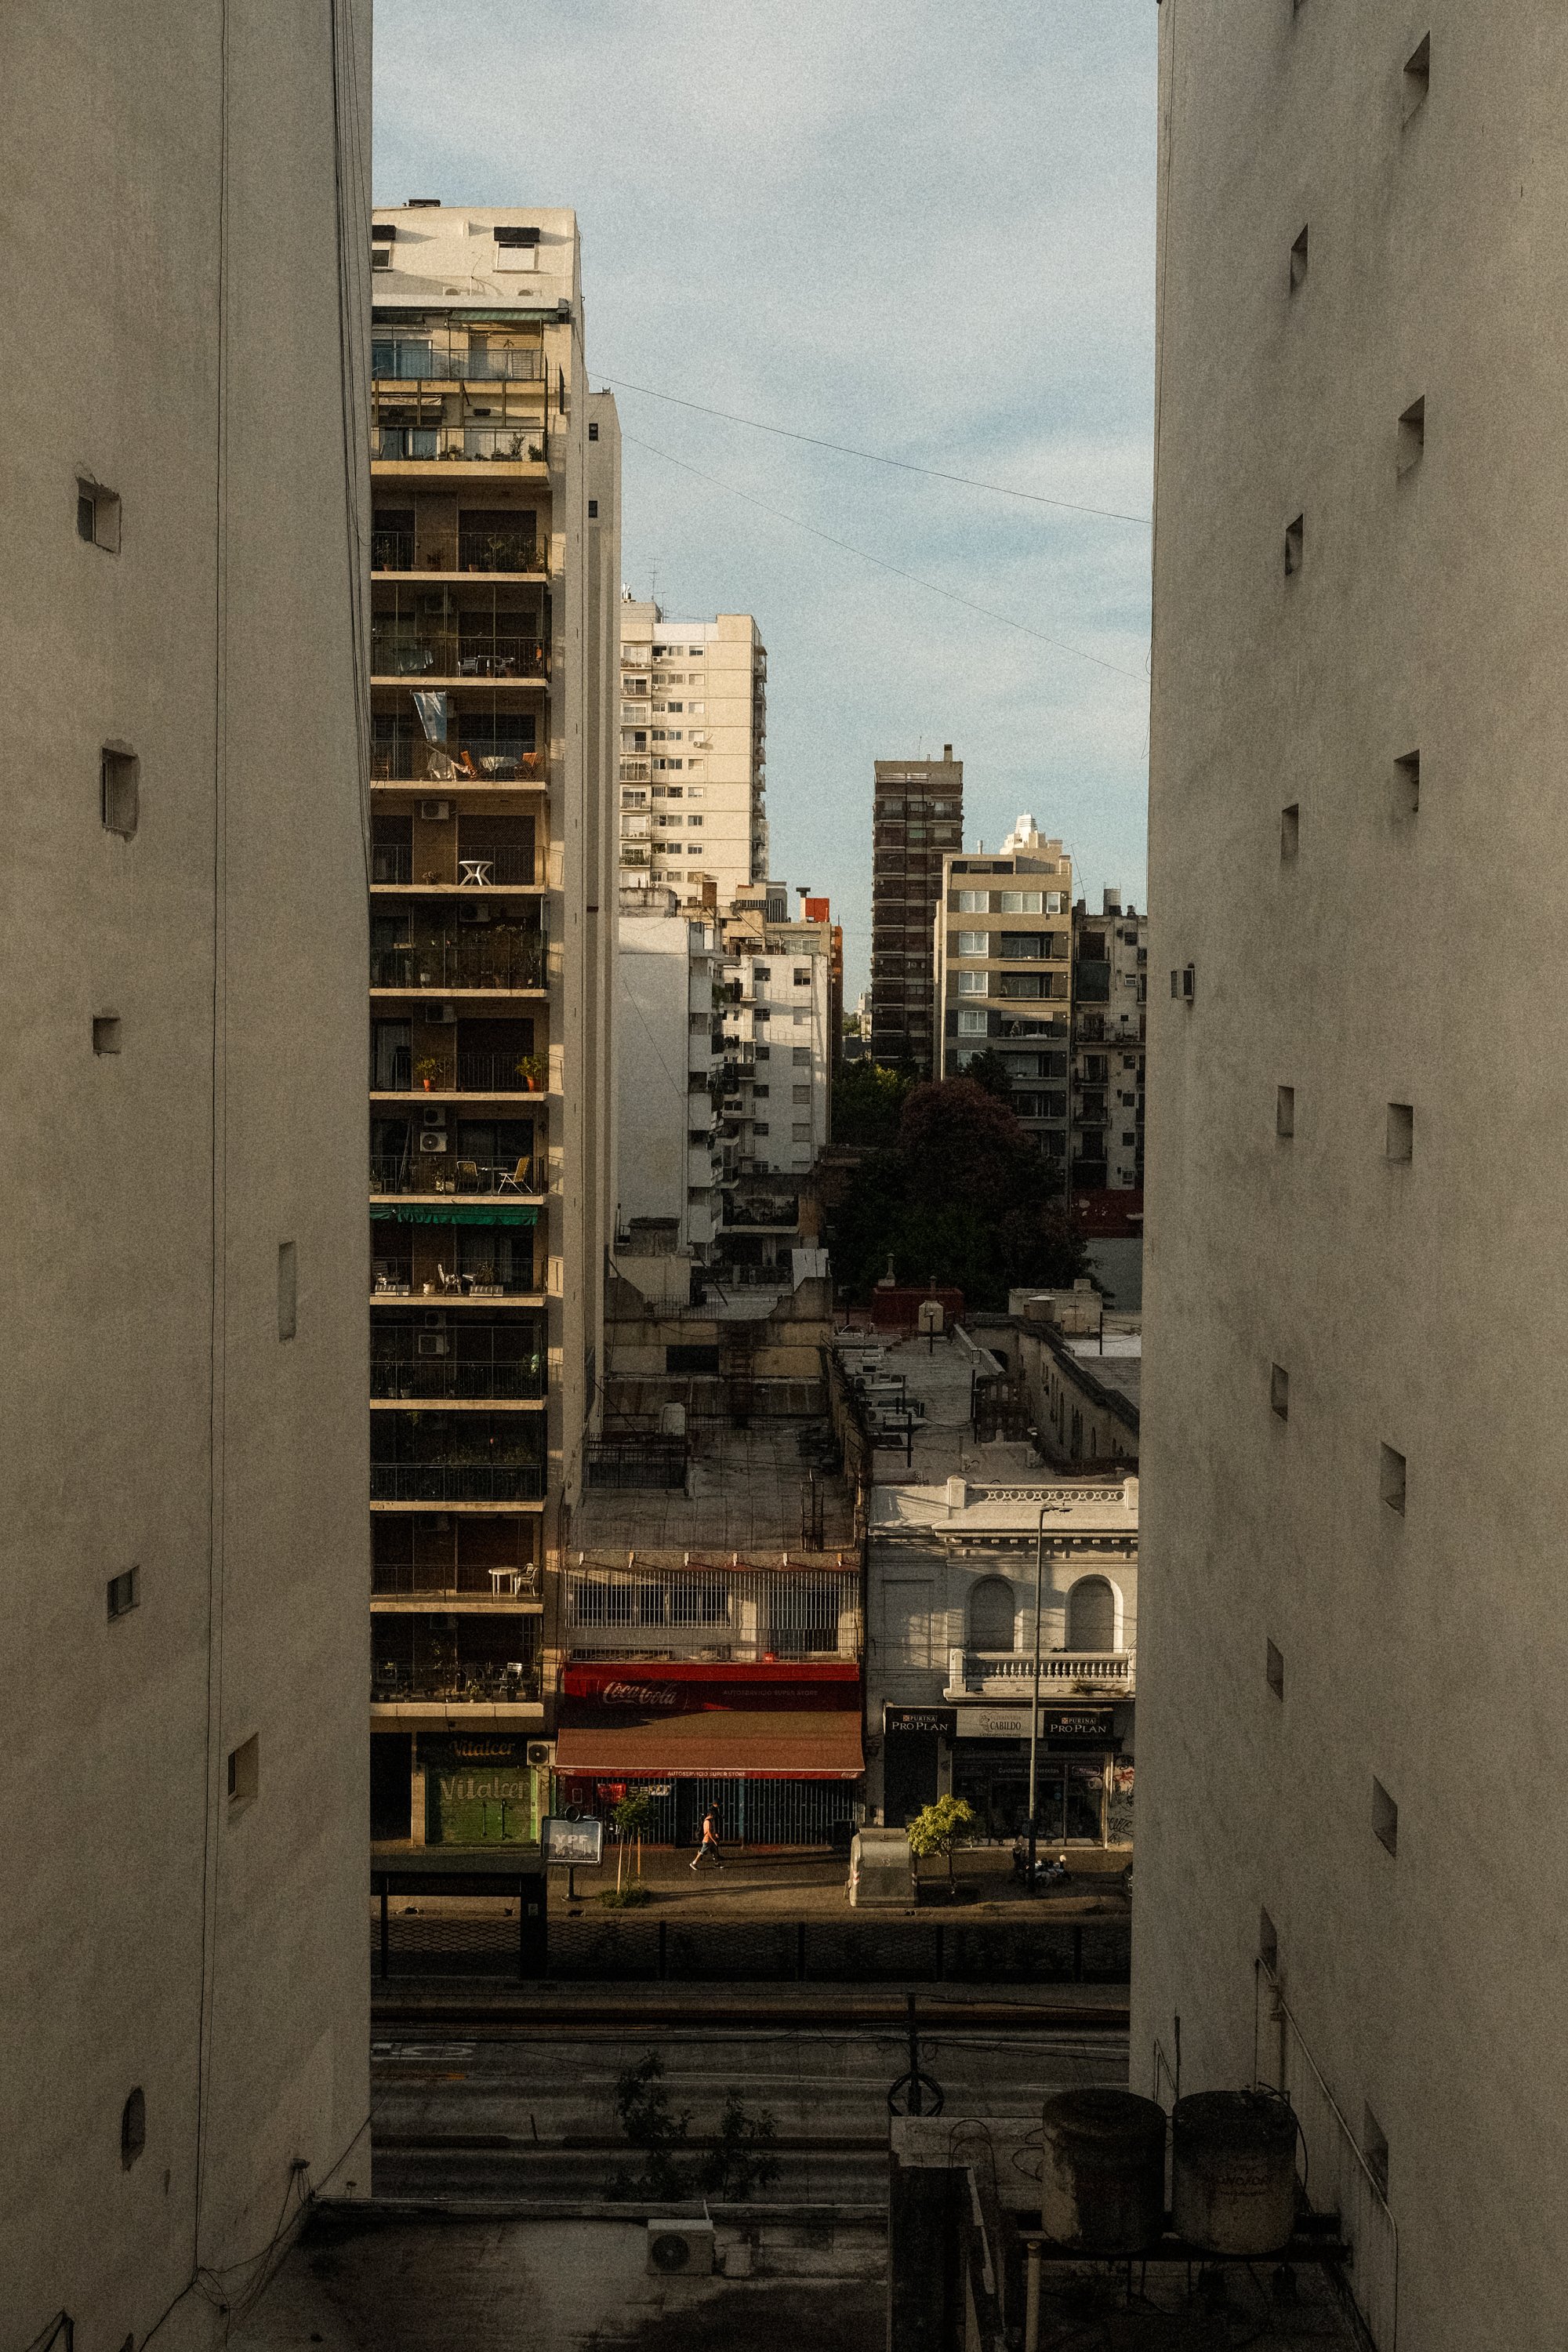
As you can imagine after not seeing my family in Argentina for 17 years and some for 30, i spent most of my time catching up with them and not doing much sight seeing. Here is a mix of some of my fave pics from Argentina. In all honesty i should have taken way more pictures in Argentina but i let everyones comments get to me thinking i was going to get my camera stolen around every corner. In the end i physced myself out and didnt end up taking it with me many places.


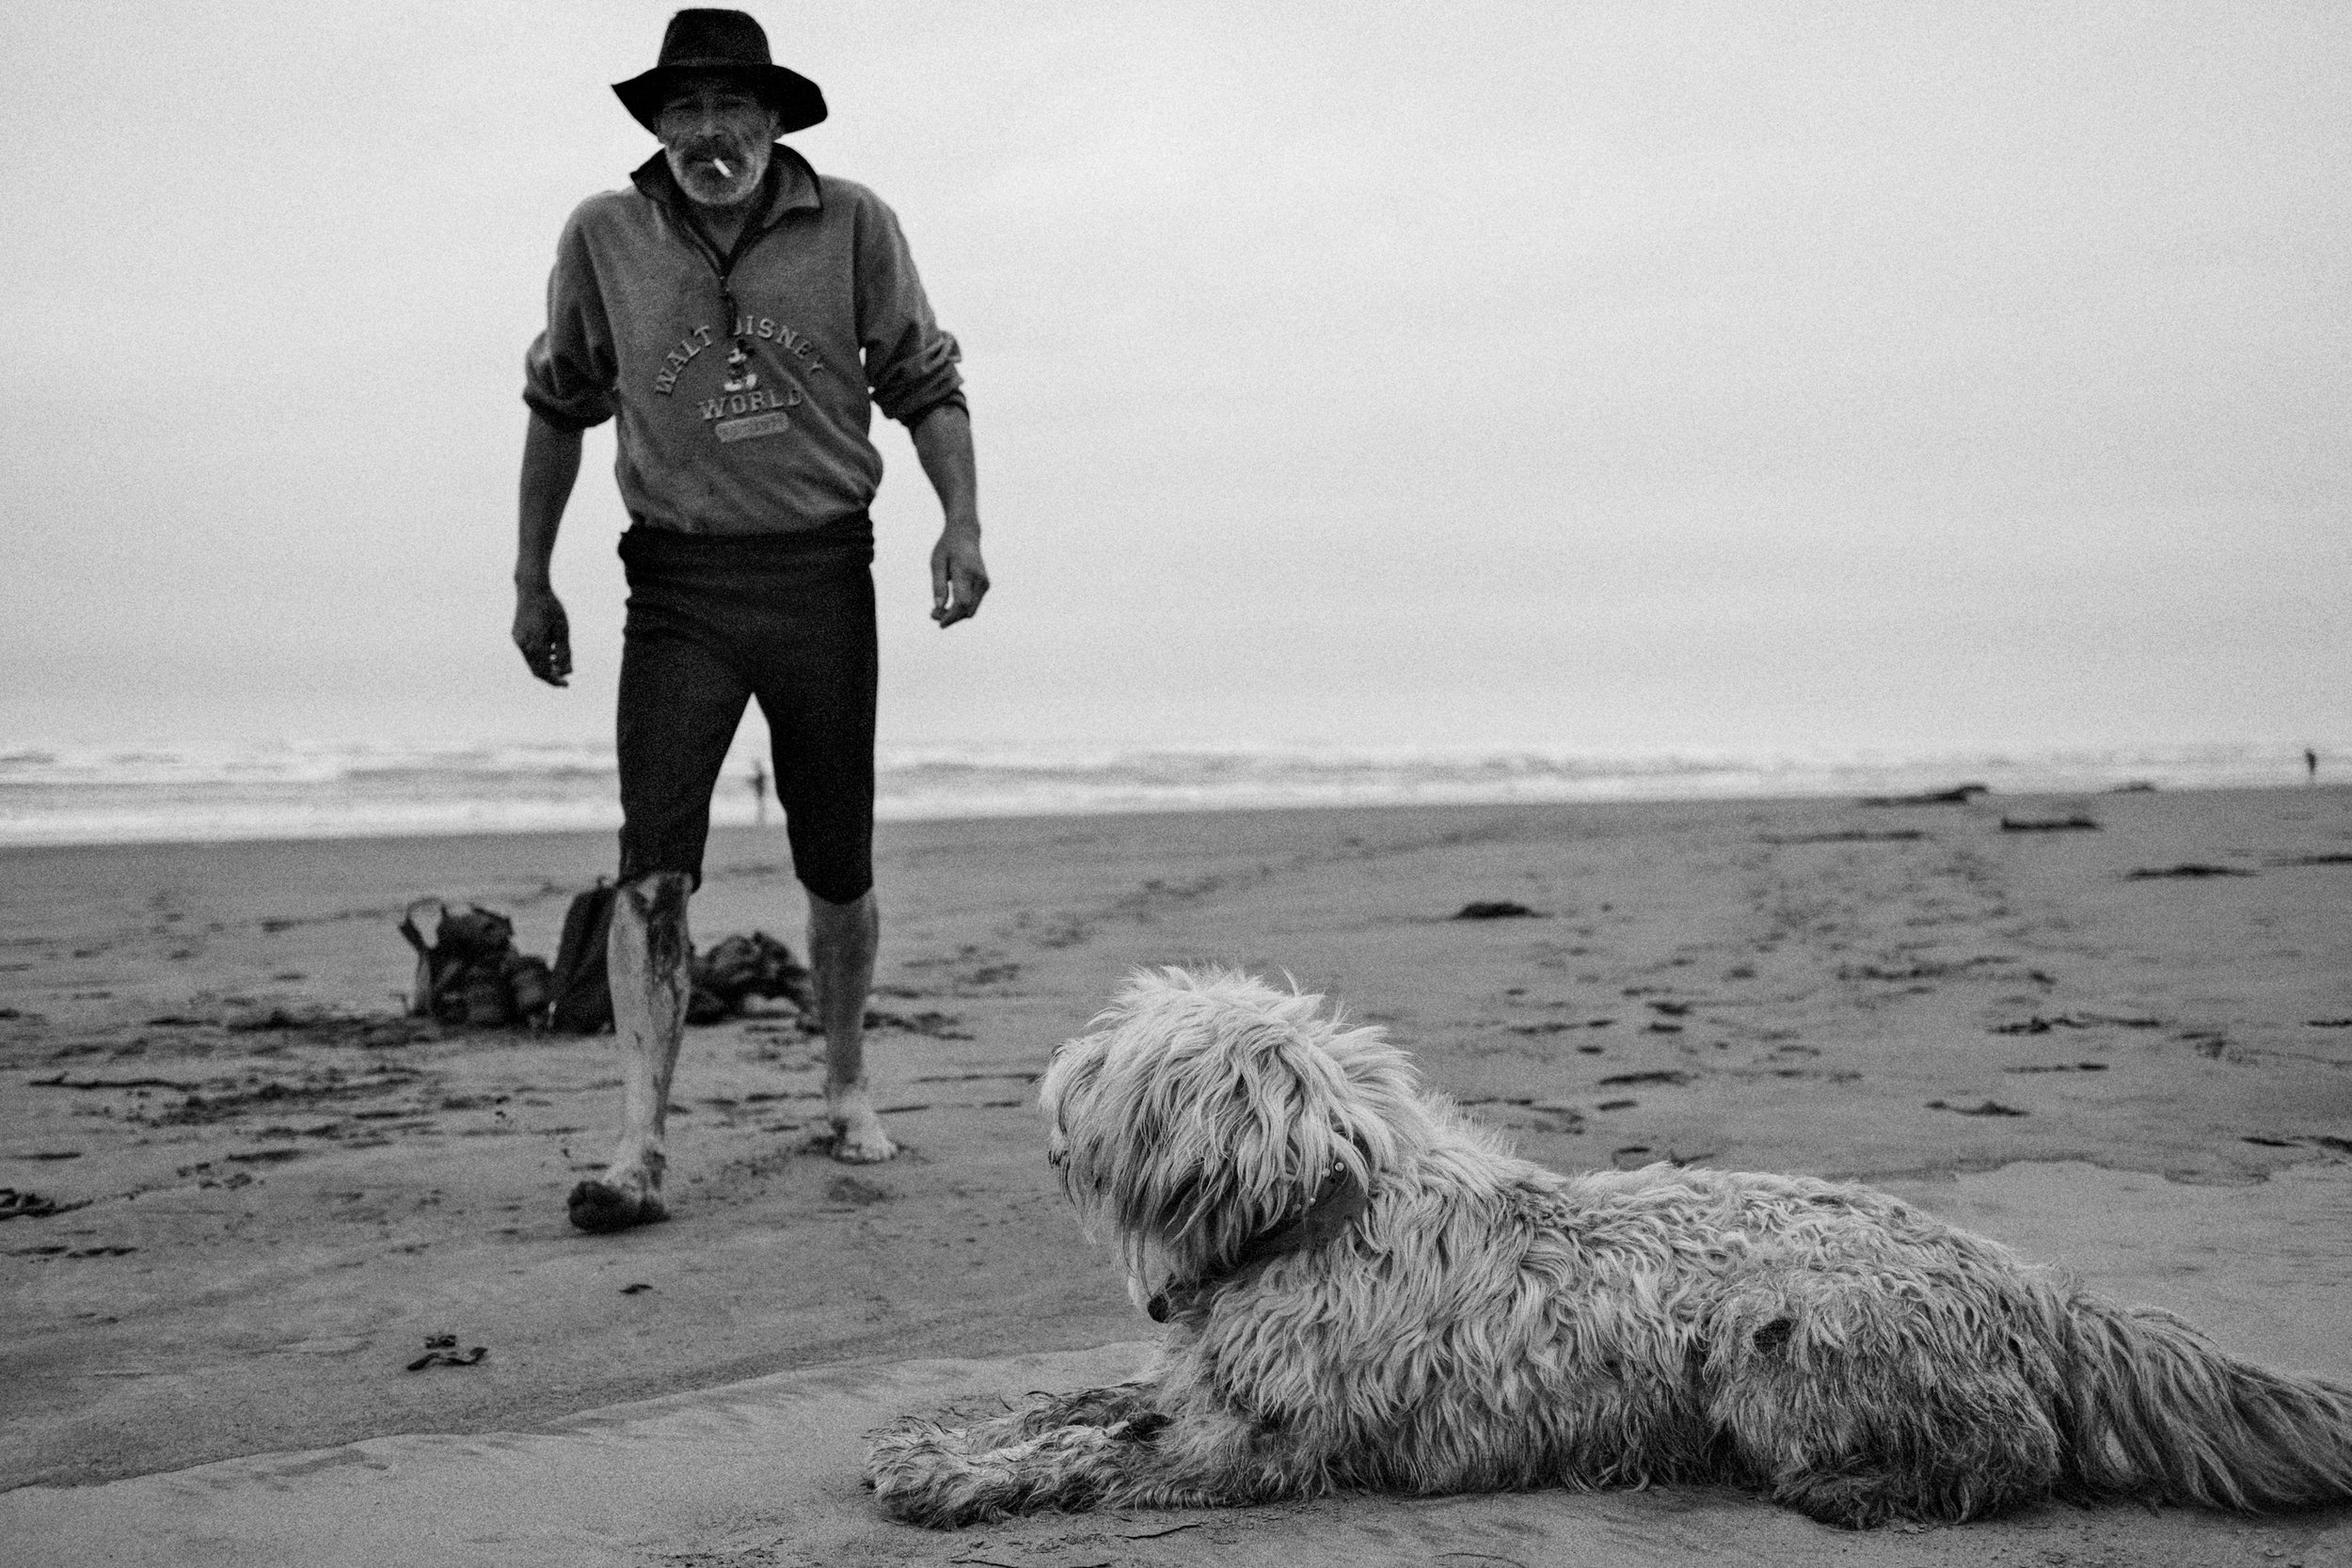
Chile was where we could explore a bit more, here are some of my favourite randoms in Santiago after we arrived from Buenos Aires.


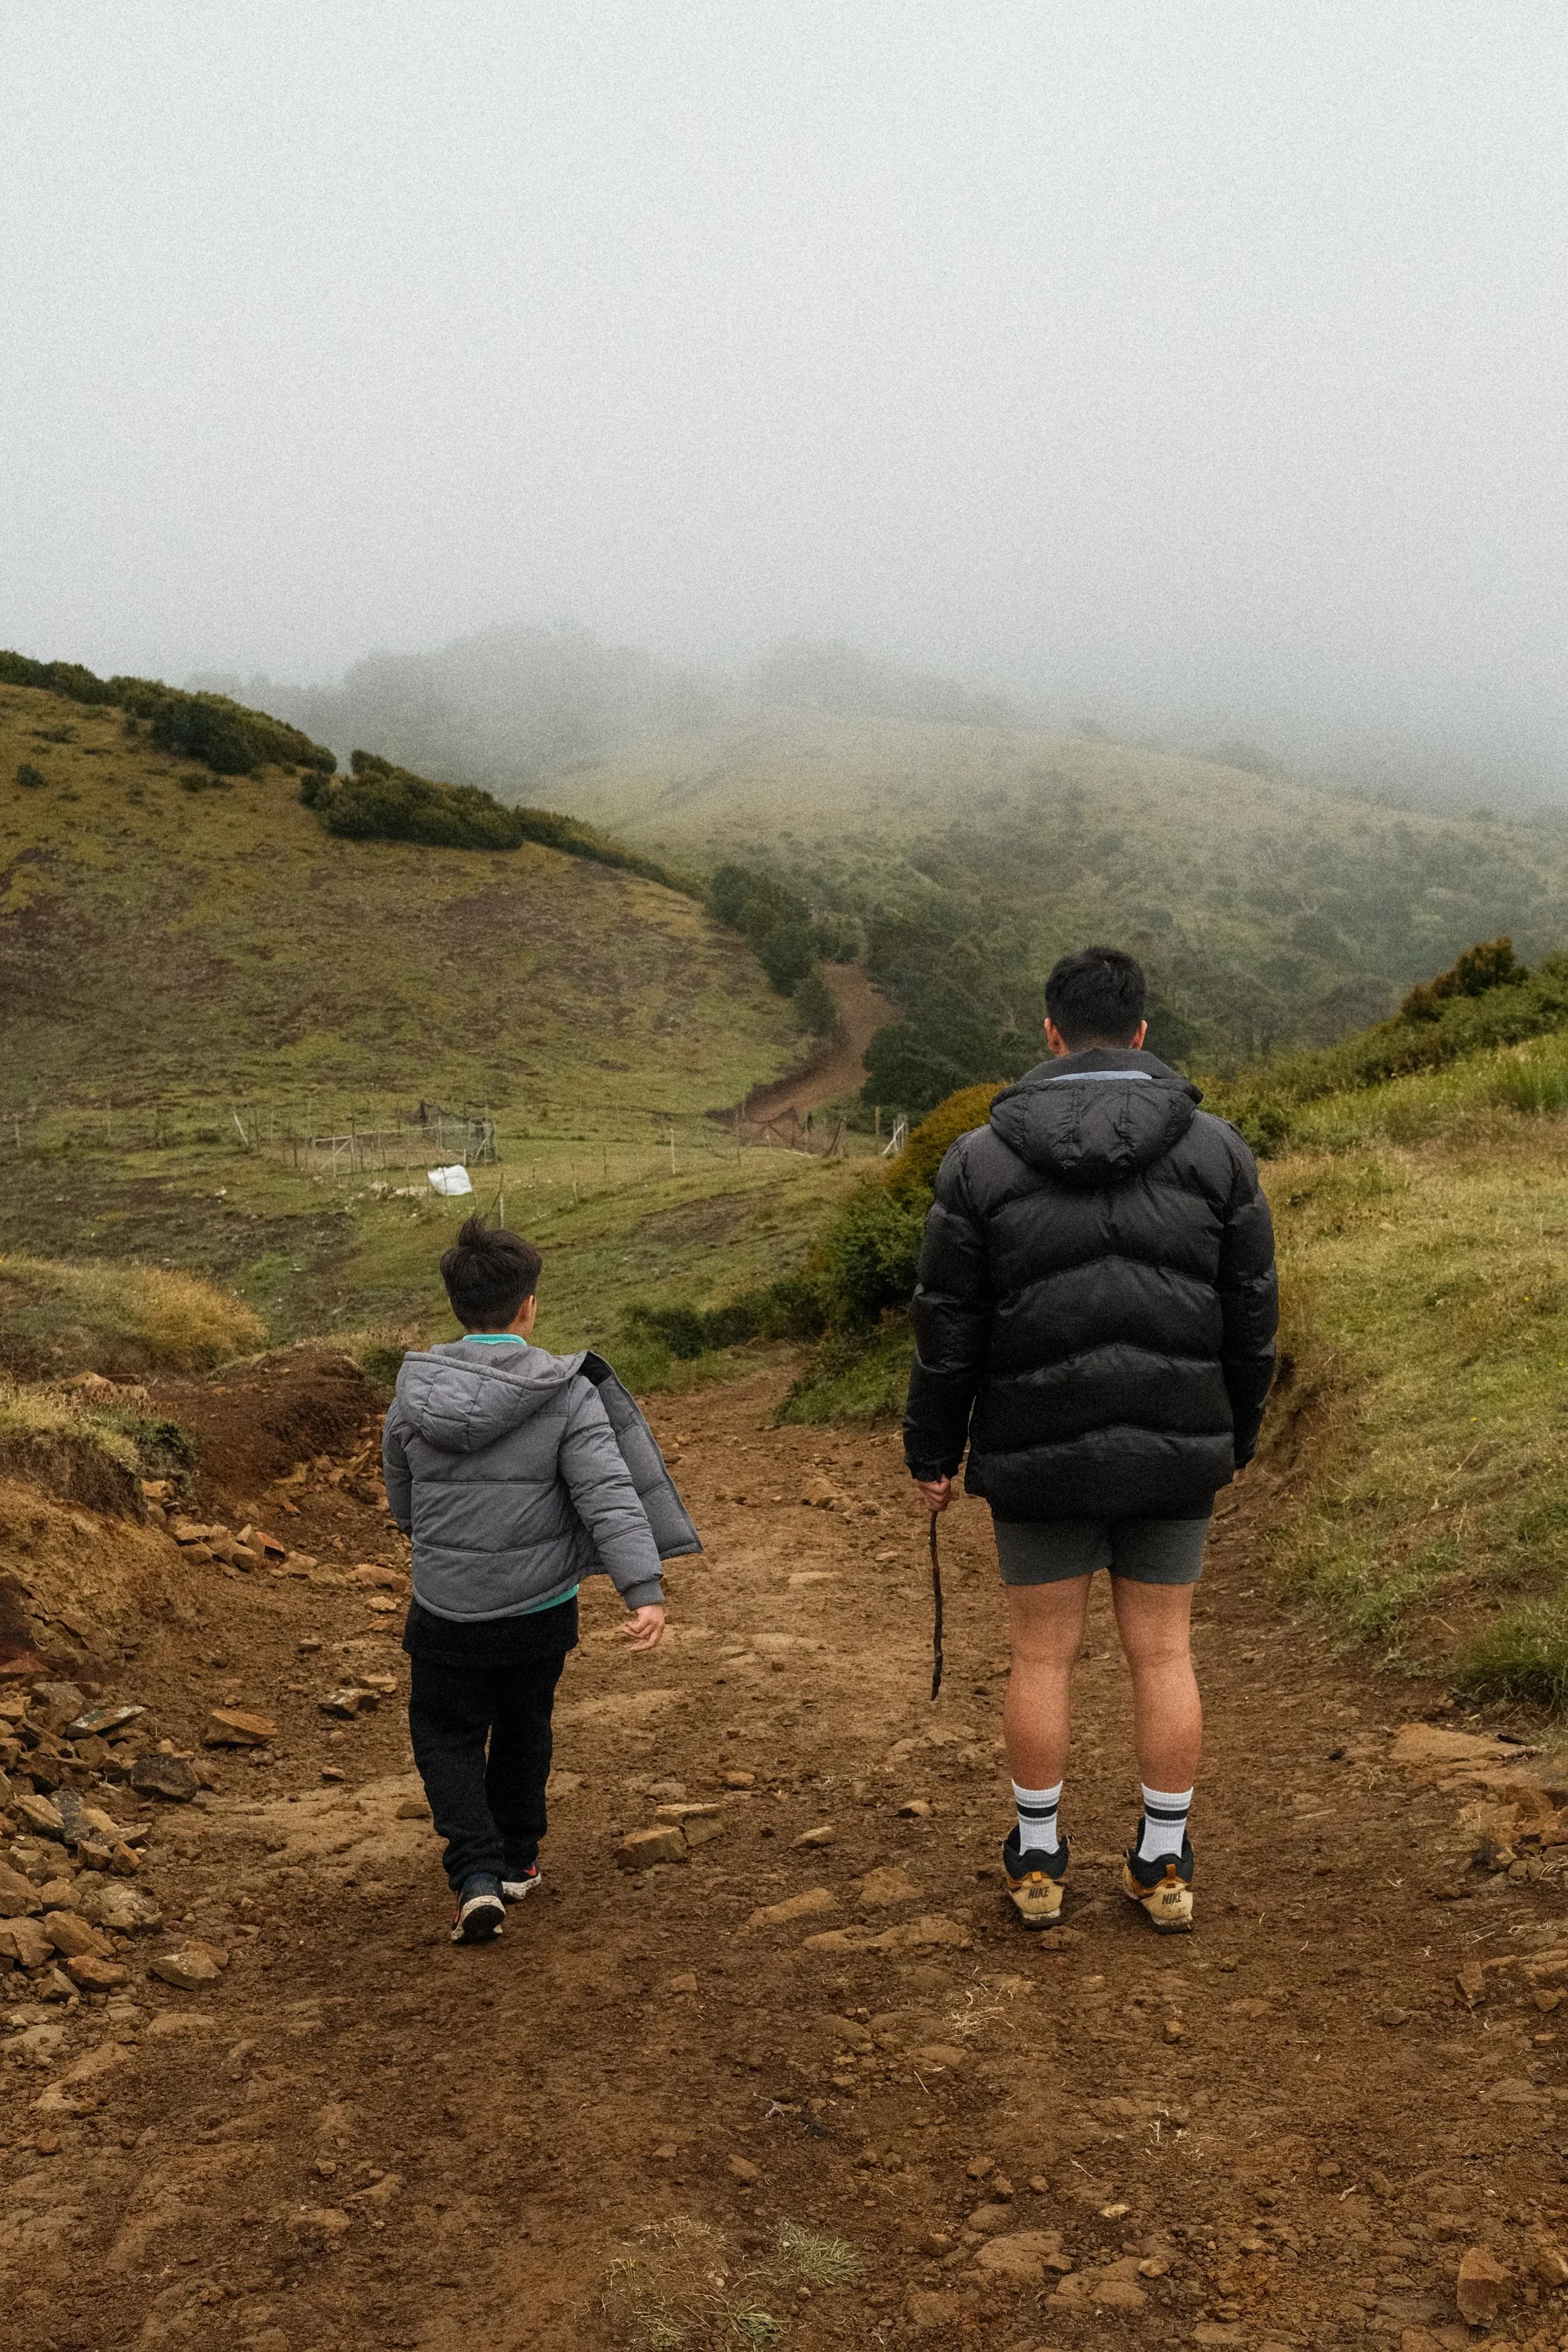
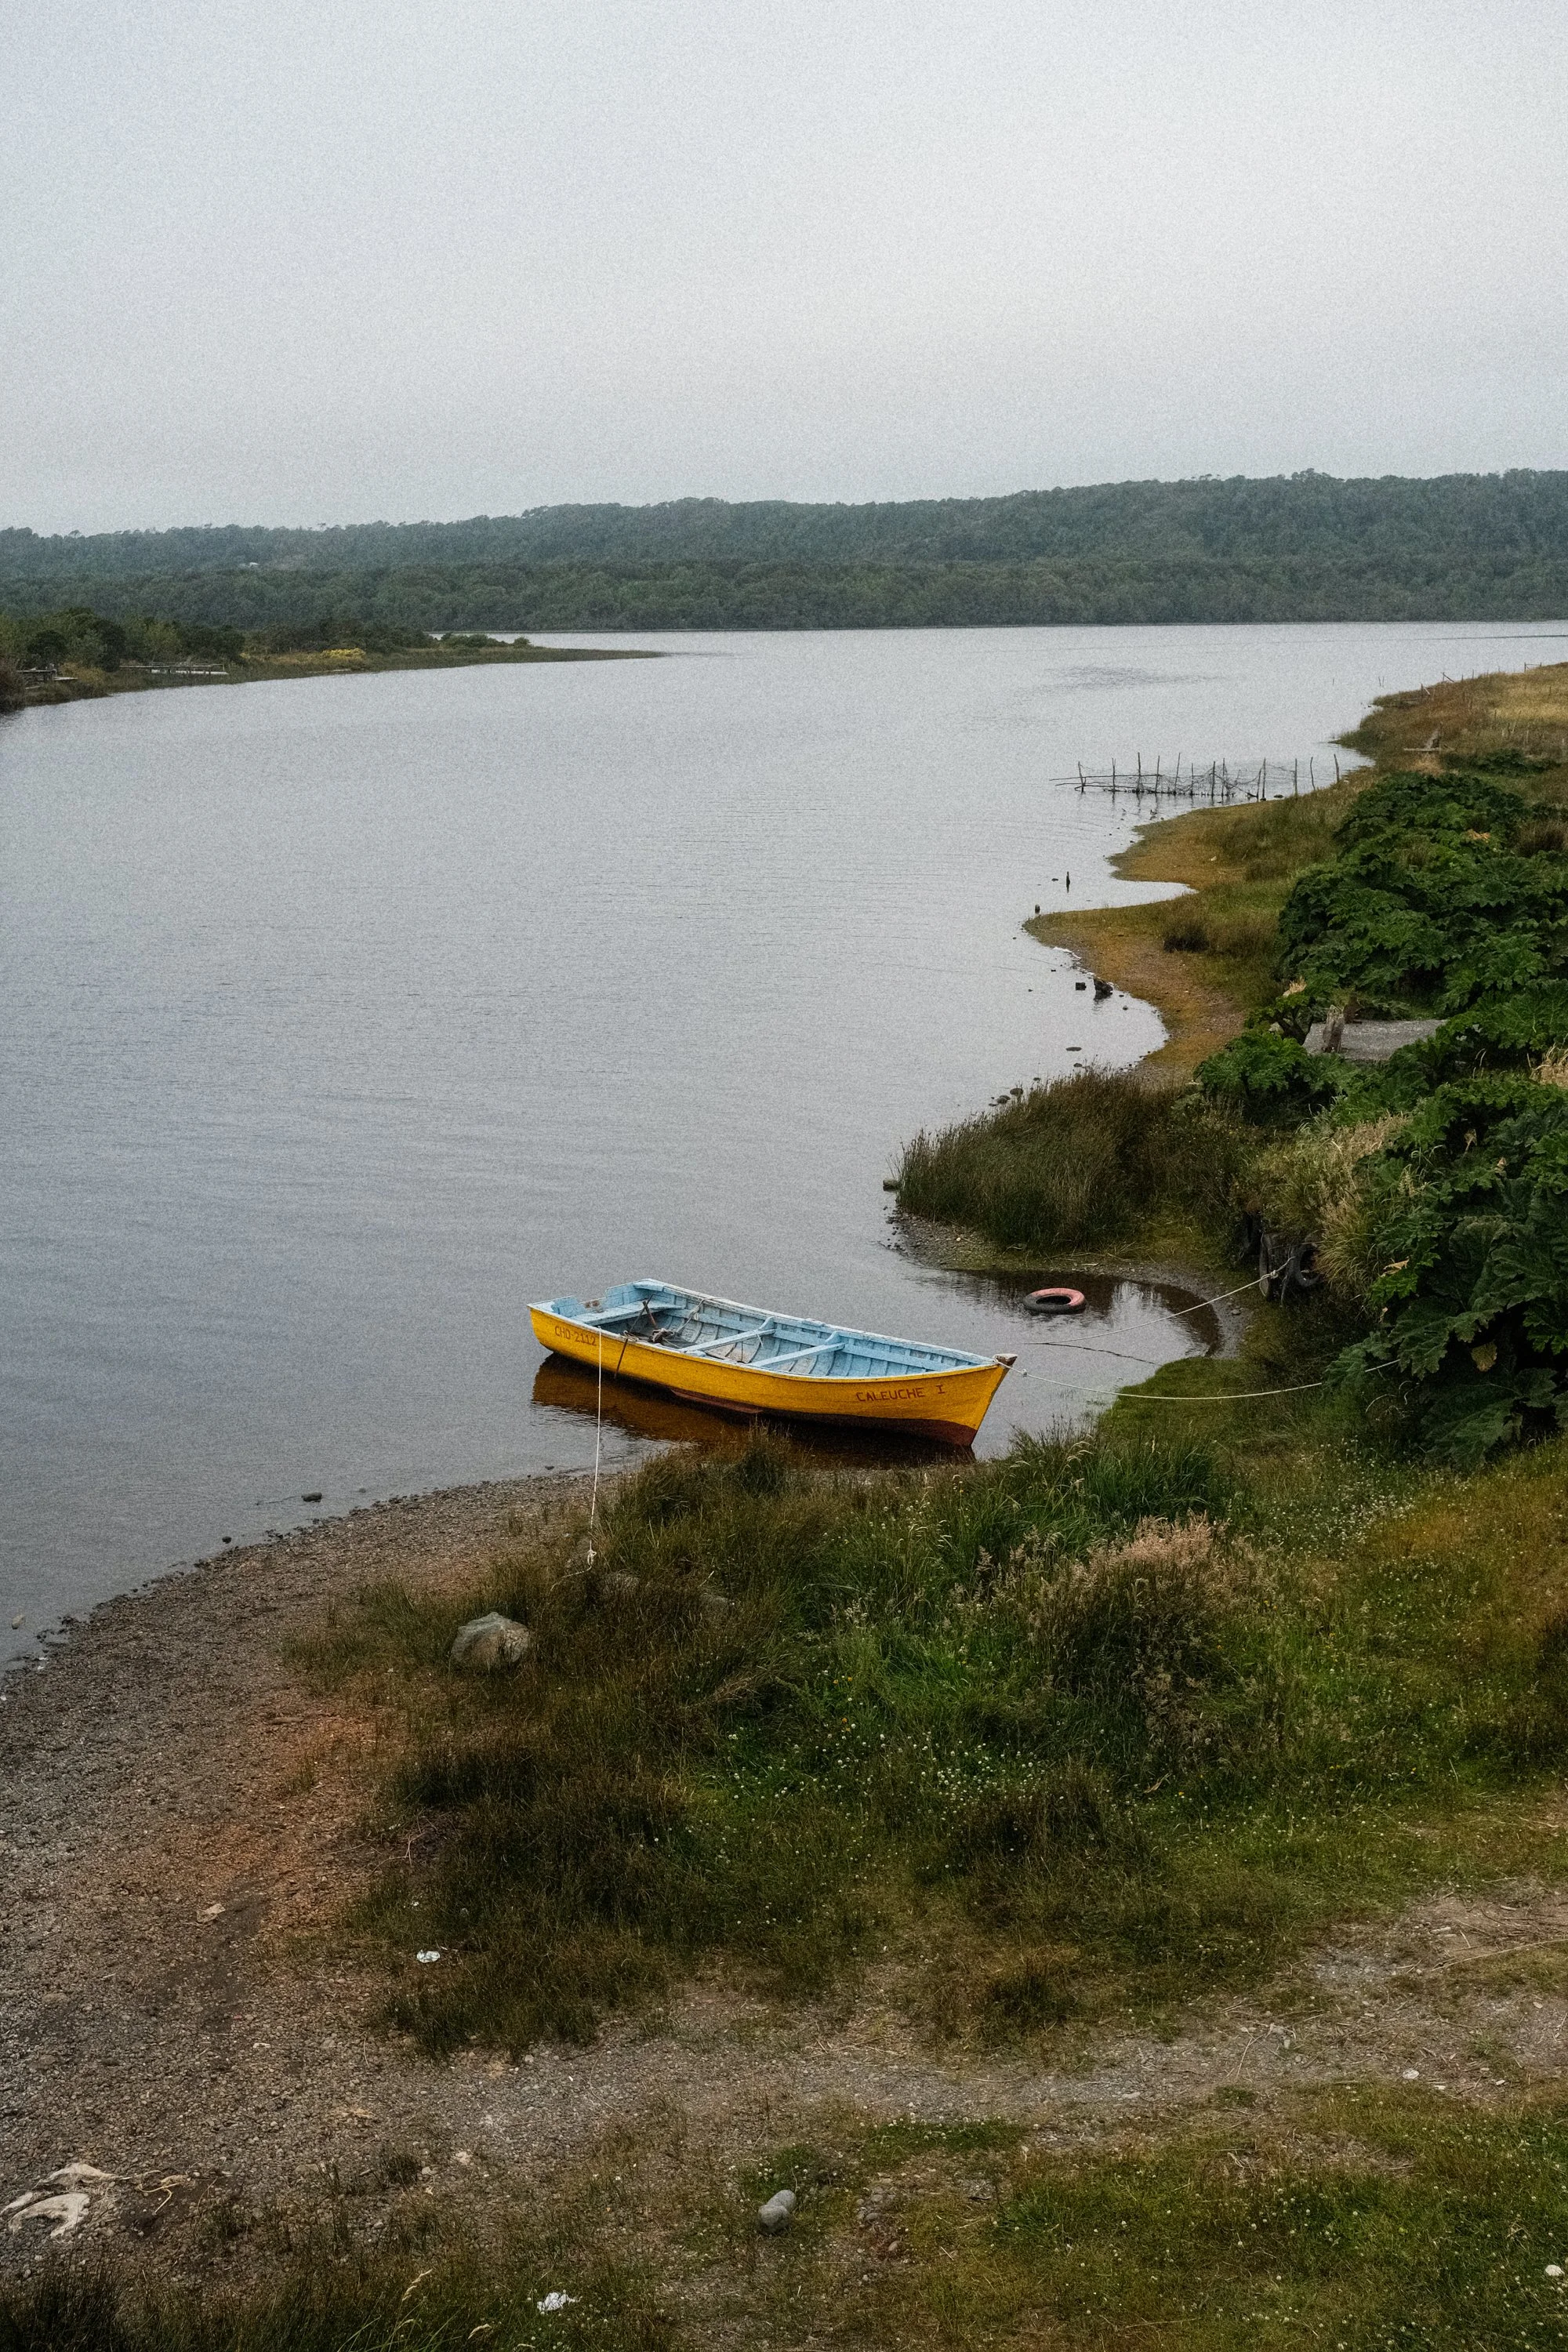
The next part of the trip we head down to the south of Chile, this starts off with us taking a flight to Puerto Montt very early in the morning and then drive 4 hours to Cucoa. During the 6 days we spent in the south of Chile we explored various attractions in Castro, Cucoa, Quellon and Puerto Montt. Here are some of my faves from that part of the trip.


When we got back from the south of Chile we drove to Valparaiso to explore a bit, here are some of my faves from that day.


Here are some of my favourite randoms from around Santiago.


Cant be in Santiago and not go to Cerro San Cristobal to see Santiago, you need rain for it to clear up the views of all the smog but still nice to get up there.


Lastly here are some of the final randoms i enjoyed from Santiago.


I did mention that i took my film camera with me, i only shot 1 roll with it which was a roll of Kodak Portra 400. I havent been keeping my film in the fridge and i think it may have deteriated over time, or im just severly under exposing the images. Anyway enough excuses, here are my faves from that roll.


All in all it was a great trip, happy i got to see my family and my wifes family and was great to see the south of Chile.
Even more stoked on the Fujifilm X-Pro3 and absolutely loving the Nostalgia and Tri-X recipes. Will hopefully put together another blog post of my experience with the X-Pro3 so far and share some of my favourite images taken with it.
For some other pics from the trip check out my saved Instagram highlights and posts.
Thanks for visiting.

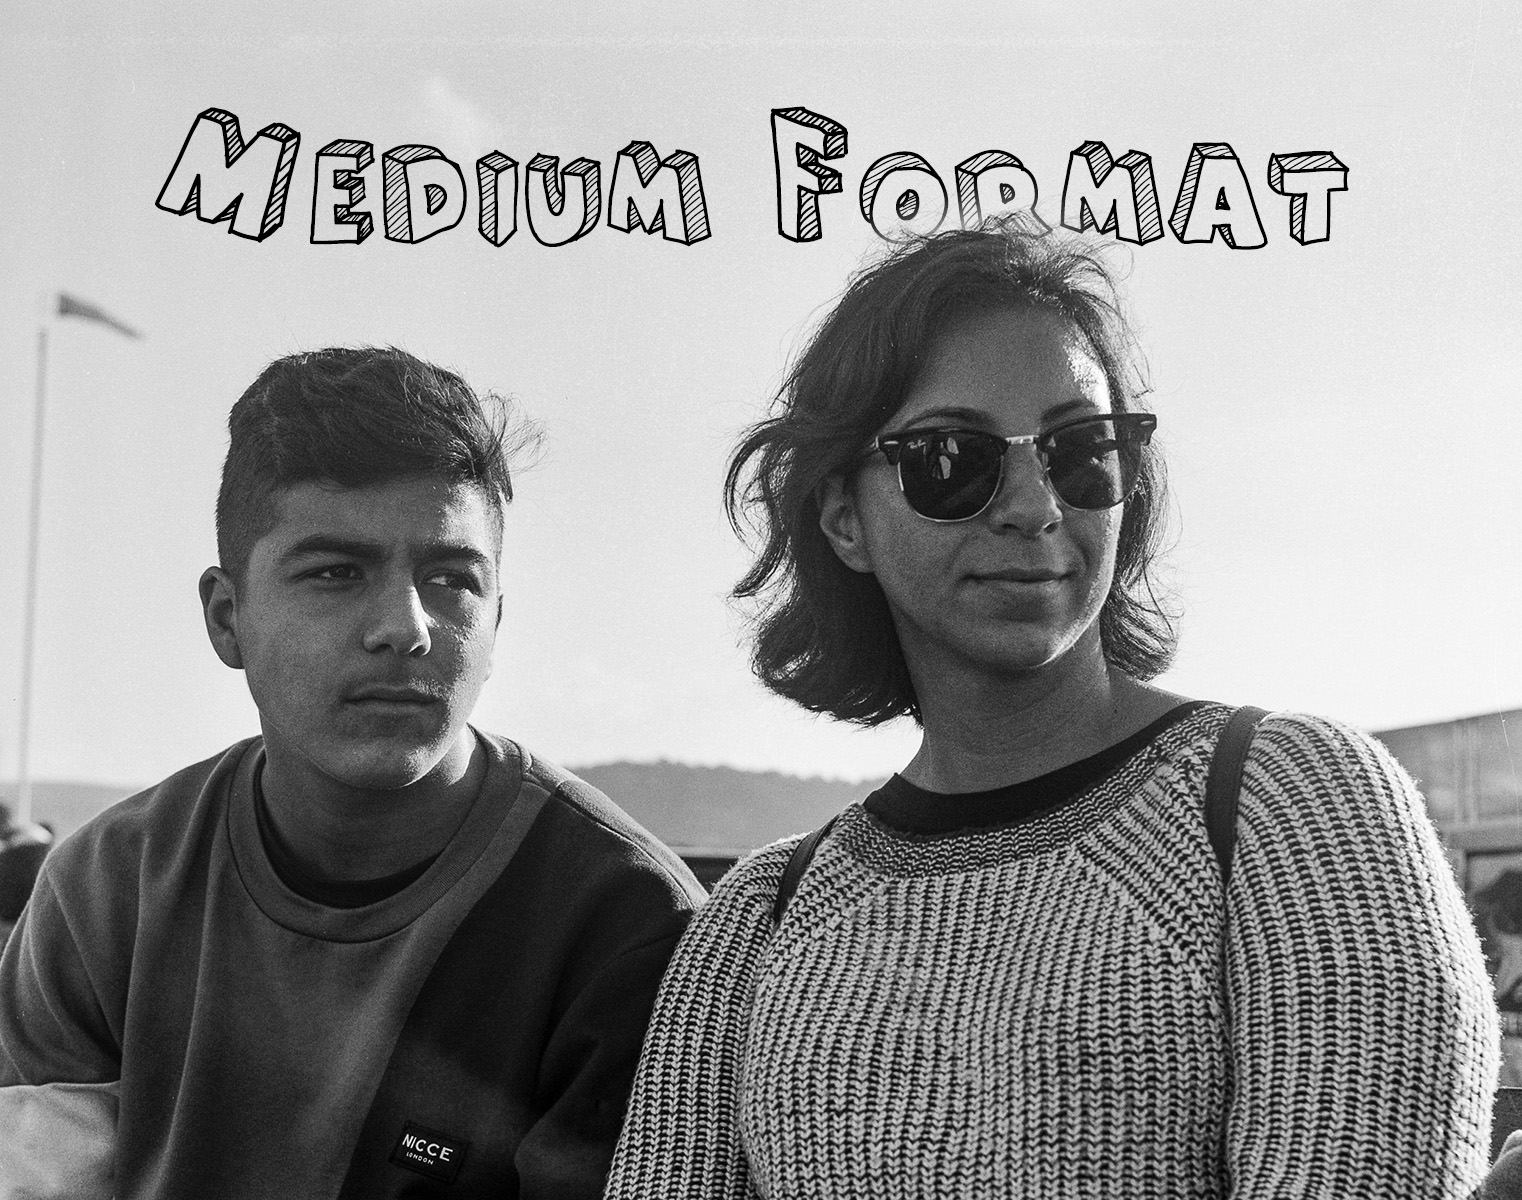
The World of Medium Format Film
Lucky find, the film camera collection grows a little. Shots with the Yashica Mat.
I never thought I’d make it into the 120mm world. I considered it but never really thought I’d actually end up getting a medium format film camera, well that’s changed.
Not sure if I’ve mentioned it on this blog but since getting back into film I’ve also gotten into thrift shopping in the hope of finding more film cameras.
Once a month (sometimes twice) ill head down to my local Salvation Army store to see what they have. Most of the time there isn’t anything worth while but occasionally I’ll find something. My first worth while find was a Minolta XG-1 with Rokkor 40mm f2 lens which my son now uses and it produces some nice images.
Lets get on with the find this post is really about, that would be when I came across a Yashica Mat TLR. When I first saw it I knew what type of camera it was and had a rough idea around how it worked but was a little reluctant to purchase it.


So I called an attendant around to open the cabinet to take a closer look at it. Close up the leather was peeling on almost every panel, it needed a clean and the shutter button felt a little sticky. Things I kind of expect from a camera this old that hadn’t ever been restored. I opened it up and had a look around and seemed to be in good condition, lenses seemed clean, view finder was good, shutter speeds seemed to be accurate when firing and the film advance winder did its job.
I jumped on eBay and had a quick look to see what they go for and saw they were around the $280-350 AUD for a working example. Considering it was $80 I took a gamble and bought it.
When I brought it home I gave it a quick clean and ripped off the old peeling leather and cleaned off as much of the glue residue as possible. I then jumped online and purchased my first roll of 120mm film from Walkens House of Film which was a roll of Kodak TMax 400. I figured I’d have a better chance at getting something half decent from some black and white film first. Here are some of the images from that first roll.


Once i knew that the camera worked i ordered a replacement leather set for the camera off of eBay to give it a fresh look. The pictures of the actual camera at the start of the post are it with the new leather panels.
For those that don’t know much about the Yashica Mat its a 6x6 square format twin lens camera which has one lens to look through and the 2nd lens is the one that exposes the film. It also has a waist level view finder which is mirrored, so when composing and making micro adjustments your always moving the wrong way (takes some getting used to). It has two 80mm fixed lenses that range from f3.5 to f22 and a max shutter speed of 1/500, ISO is limited to 400. These Yashica TLR cameras were manufactured from 1957 up until around the 1980s, they went through different specs and names but essentially had the same layout. My particular model doesn’t come with a built in light meter so having to use my phone with an app. Having to meter with an external device and the fact that it’s a waist level view finder, your forced to slow down even more so than I would with my manual focus Contax S2b with build in light meter. This is a good segue onto what it’s like to shoot with the Yashica Mat.
I find focusing to be hard with the standard screen it comes with, I tend to focus back and forth past my focal point and gradually shorten the distance until I hit that focal point (well I think I’ve hit it). This can take me 30 seconds or so as I’m second guessing myself as to whether I’m actually on my desired focus point, it doesn’t help that the view finder isn’t the brightest out there. Once I hit focus I then compose, this definitely takes longer than it should because of the mirrored view in the view finder were moving left is actually right. I really don’t think I’ll ever get used to this to be honest.
I make it sound like it’s a nightmare to use this camera, but it’s not. Yes it’s a slower process but with practice like most things I’ll get faster at using it. I definitely think it makes getting nice results back so much more rewarding as you had to work for it.
Of course if your going to be shooting anything that requires you to be moving from scene to scene quickly and getting those shots out, this probably isn’t the camera for it.
I’ve been shooting stuff with it that’s been slow paced with no time restraints, so I’ve been enjoying learning the qwerks of the camera.
As you can imagine I have only touched the surface of medium format and look forward to getting into it a lot more, with the potential of getting another medium format camera in the future (watch this space).
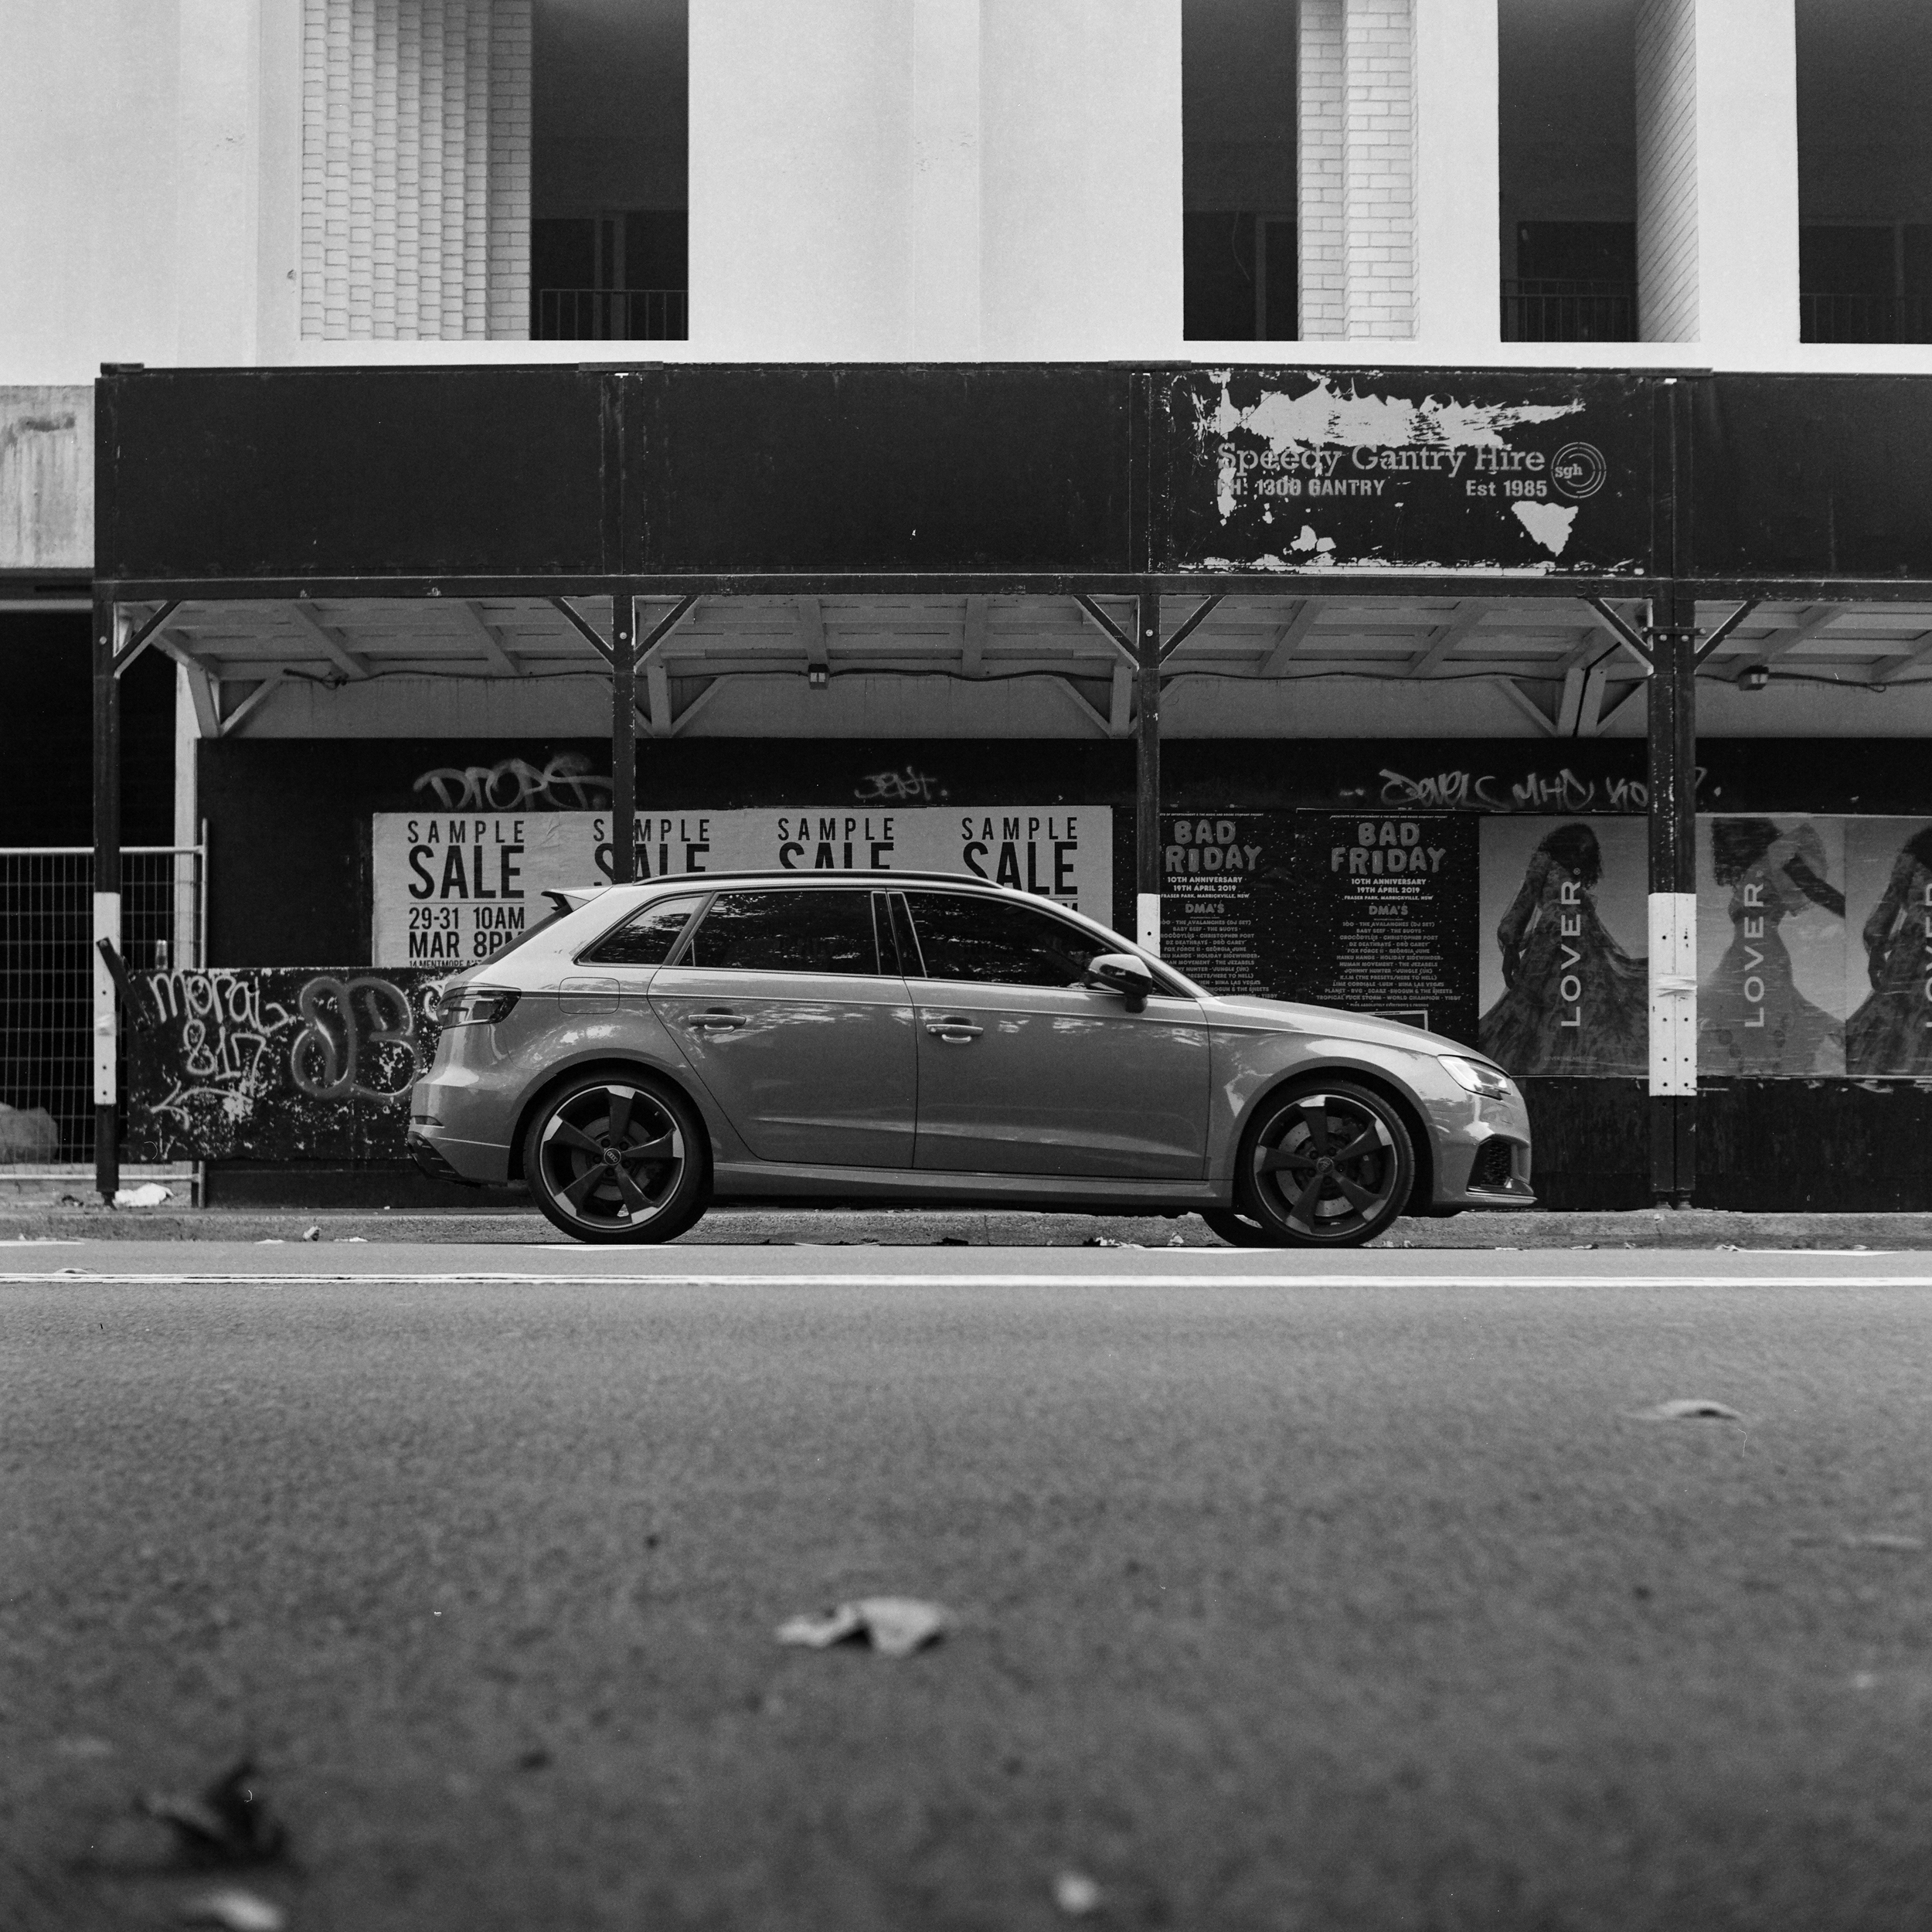
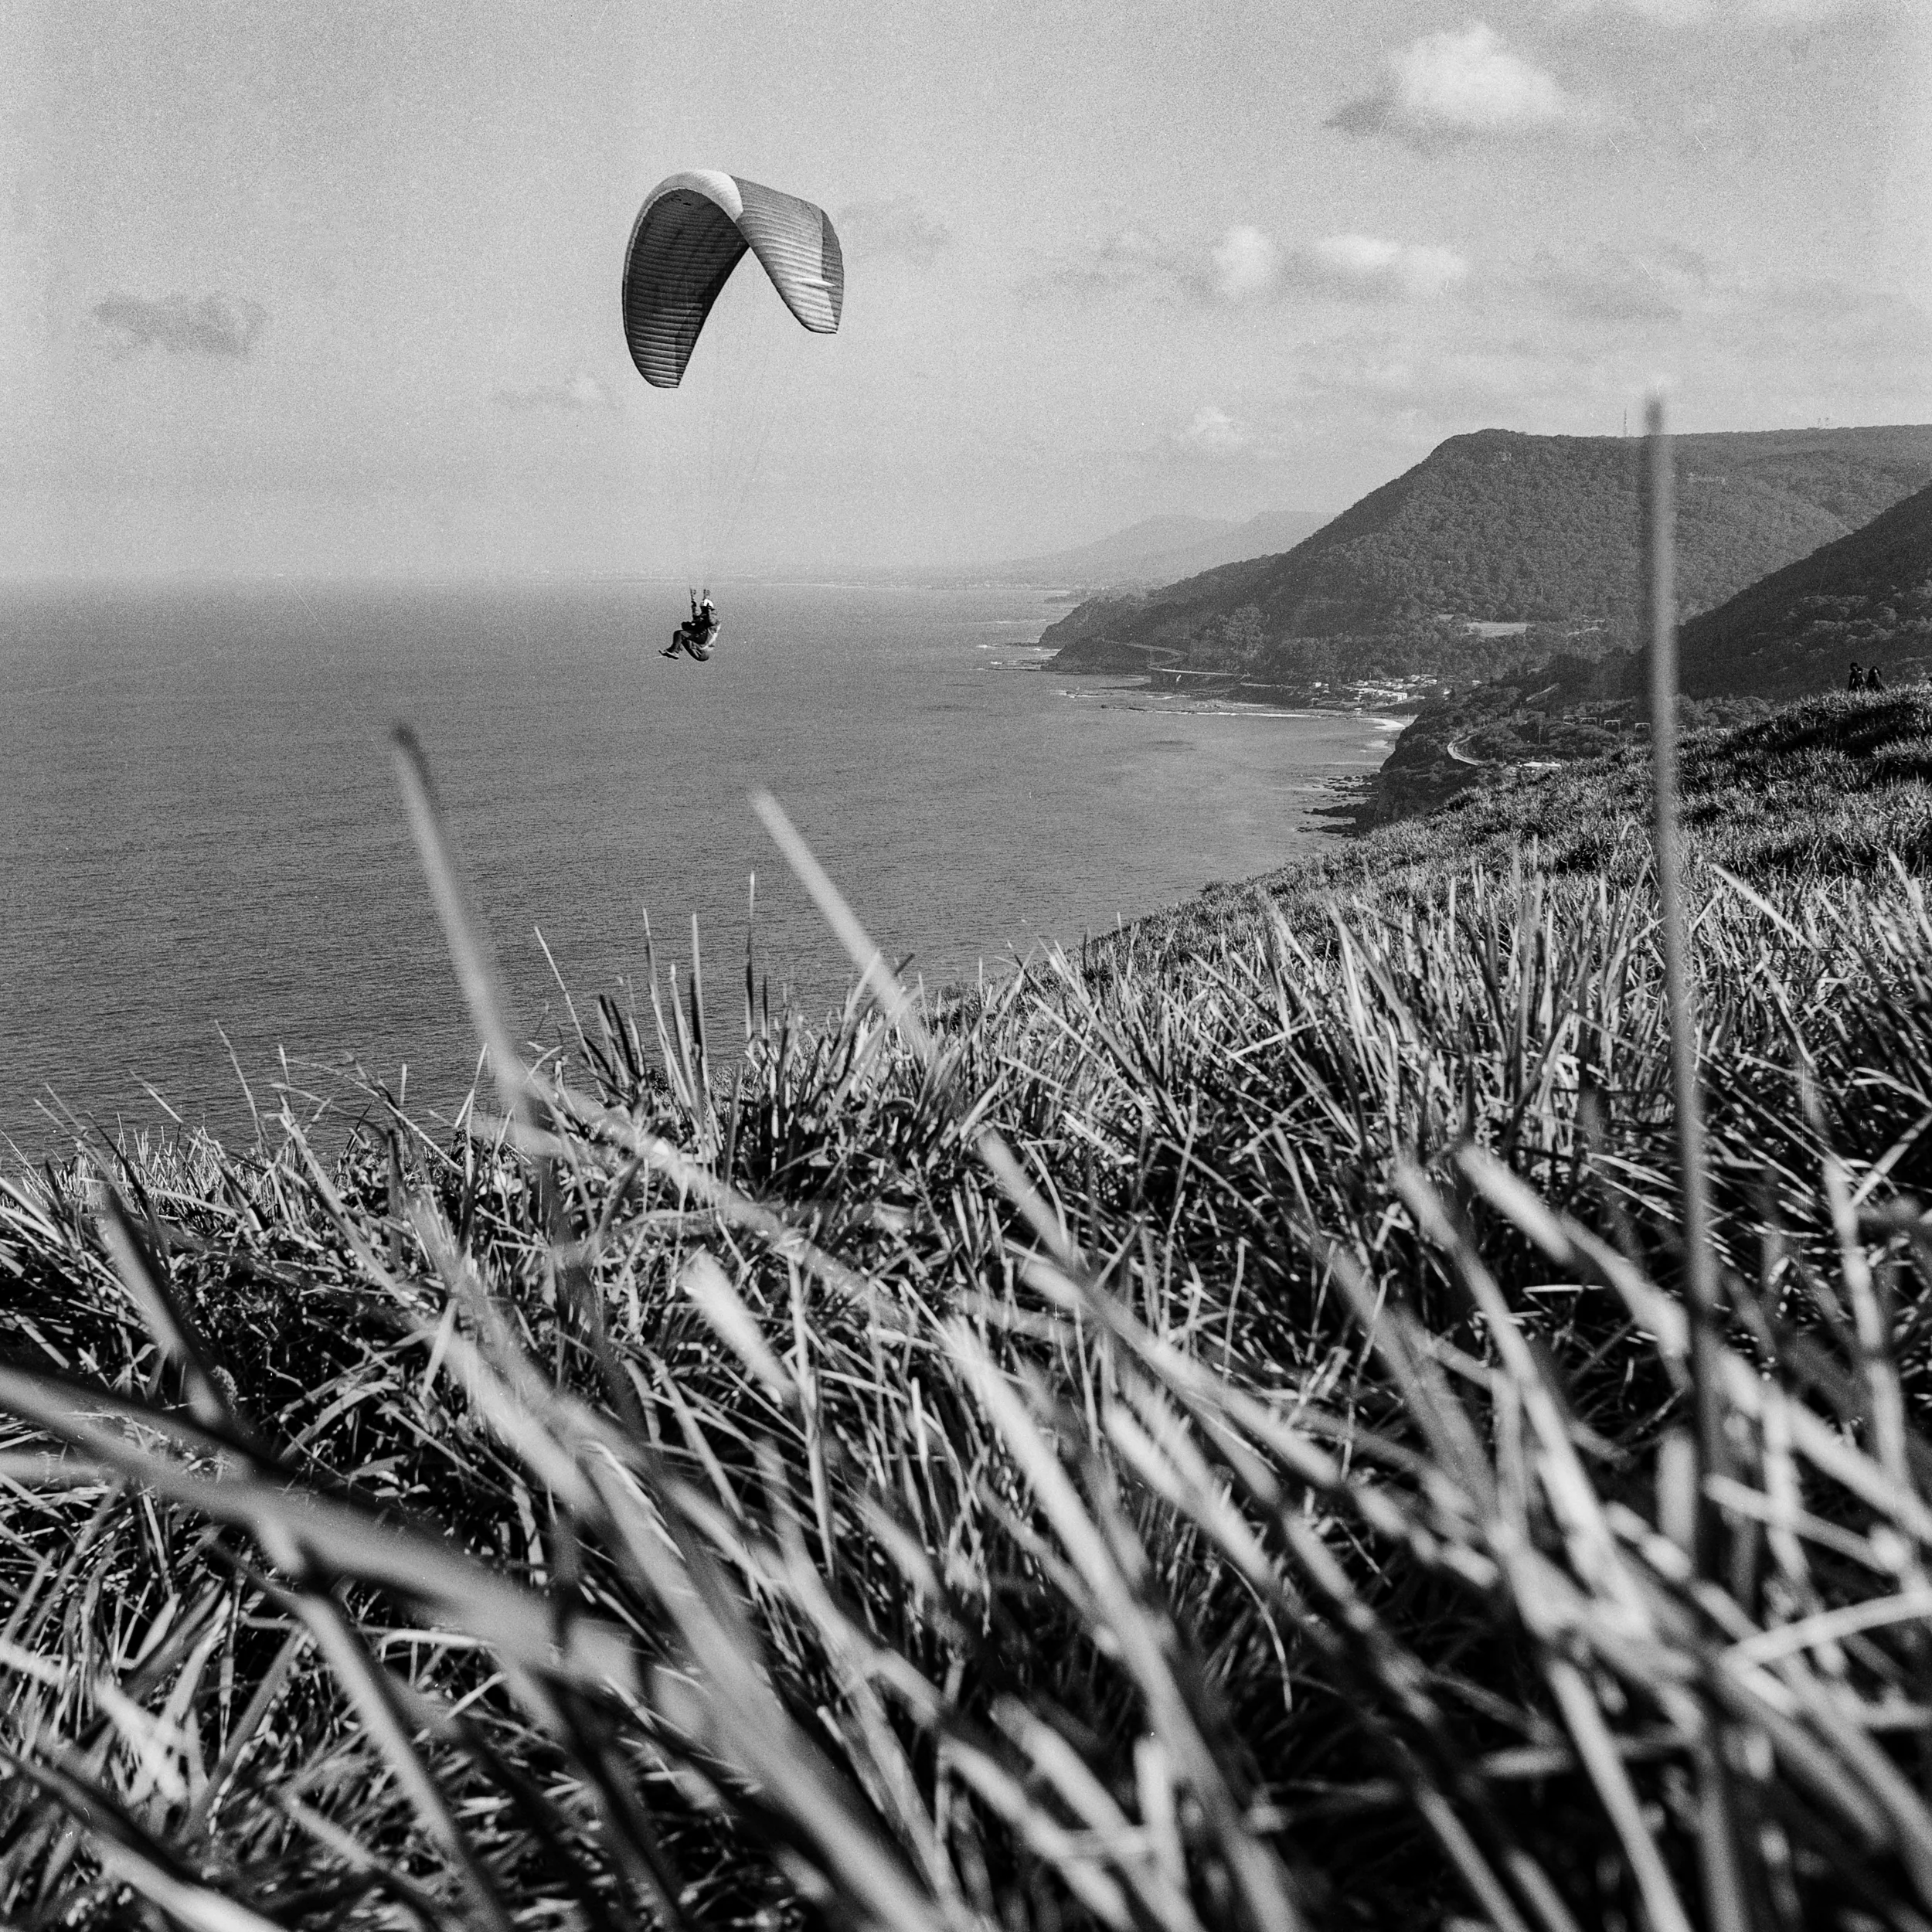
I havent put many rolls through this camera yet, maybe 3-4 but here are some of my faves so far.


Thanks for visiting.